

Written Guide:
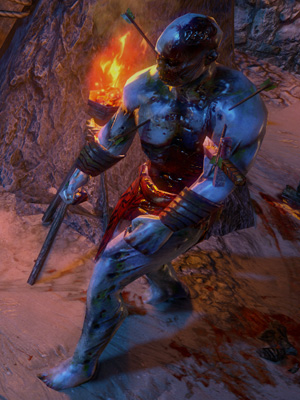
1) Follow the coast -> kill Hillock -> loot things -> enter town
Talk to Tarkleigh -> get gem (or if you do not have what you want there, check Nessa)
Buy gem links that you want (if available) on Tarkleigh
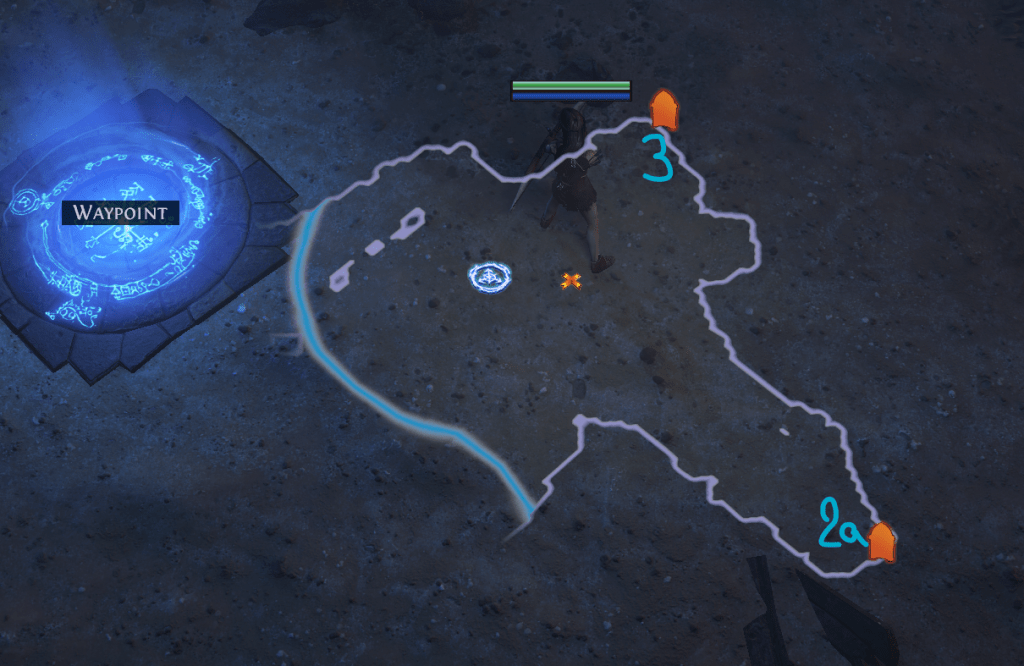
2) Proceed through The Coast -> follow along the water until you get to the waypoint -> choose where to go (OPTIONAL Tidal Island for flask & support gem reward or MANDATORY Mud Flats for main quest objective)

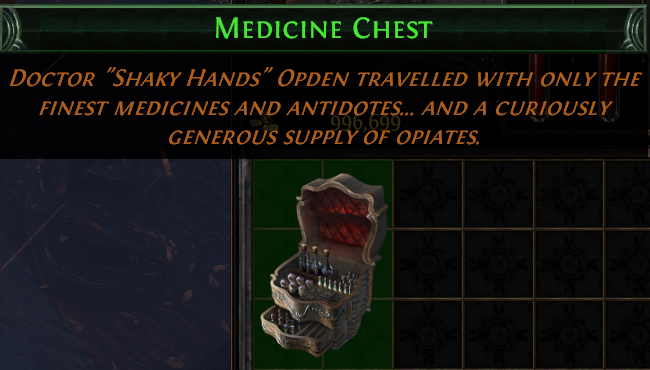
2a) OPTIONAL: Tidal island -> follow along the path (edge) to get to Hailrake. Kill him, loot Medicine Chest, then go back to town either via Portal Scroll or Logout and give it to Nessa. She will reward you with a Flask (life/mana/quicksilver) and a support gem. This will also unlock more gems from her as a vendor!
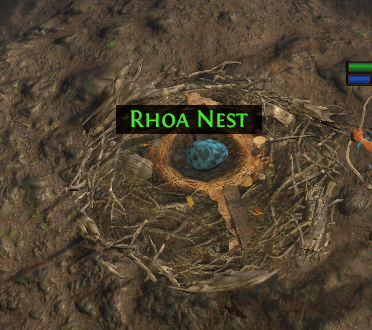
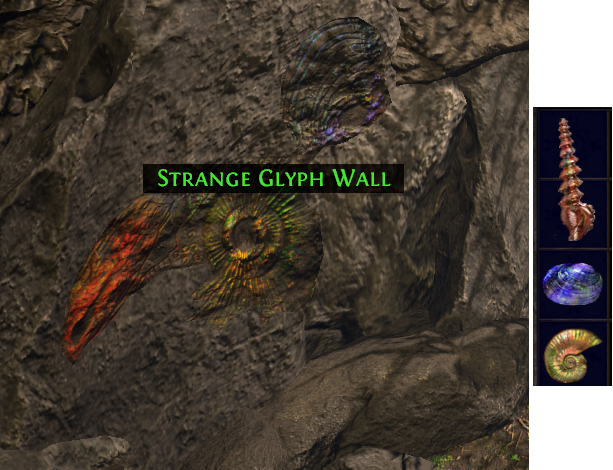
3) Go to Mud Flats -> In here, loot “Rhoa Nests” for quest items (marked in green), total 3 of them (They are “!” on the map!) -> Once you have all 3, follow the wall (usually northern side) until you find a “Strange Glyph Wall”. Click it and the next zone will open (Submerged Passage). Enter it and take the waypoint close by, then, portal to town to get your reward from Tarkleigh (Skill Gem and Movement Skill). Once you get the reward, portal back to Submerged Passage and then walk back to Mud Flats for an Optional Area.
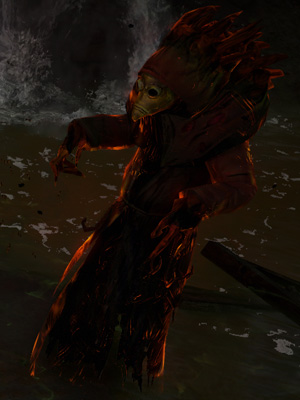
3a) OPTIONAL: Walk along the wall in Mud Flats until you find an area called “Fetid Pool”. Inside of Fetid Pool, we have to clear/kill all enemies (including Kadavrus, unique enemy). Use a Portal Scroll here to teleport to town. Reward is 2 passive respec points when you talk to Tarkleigh.
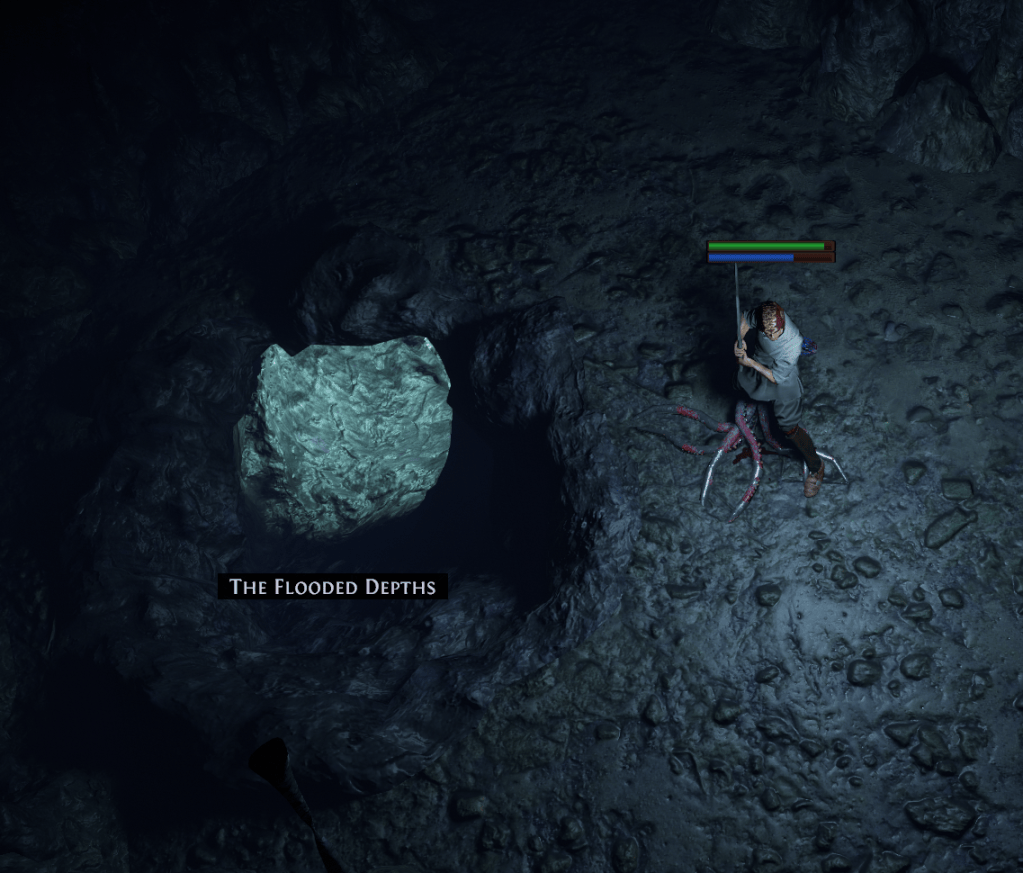
4) From Town, portal back through Waypoint system to The Submerged Passage and explore the area until you find The Flooded Depths. Enter it and proceed to step 4a.
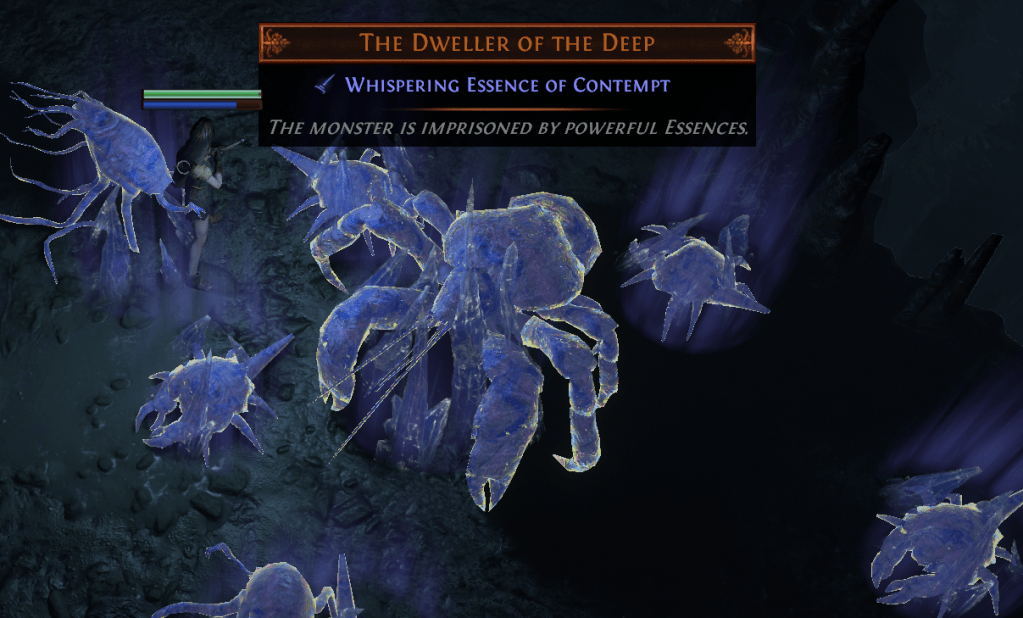
4a) Explore the zone until you get to a monster that is trapped in Blue Stones (Essences), click it a few times to release it, then defeat it and loot the Essence. Read it. You can use this crafting material on a normal (white) piece of equipment to grant the stats (+more!) from the essence. Once you kill The Dweller of the Deep, click the nearby boat that leads back to The Submerged Passage.
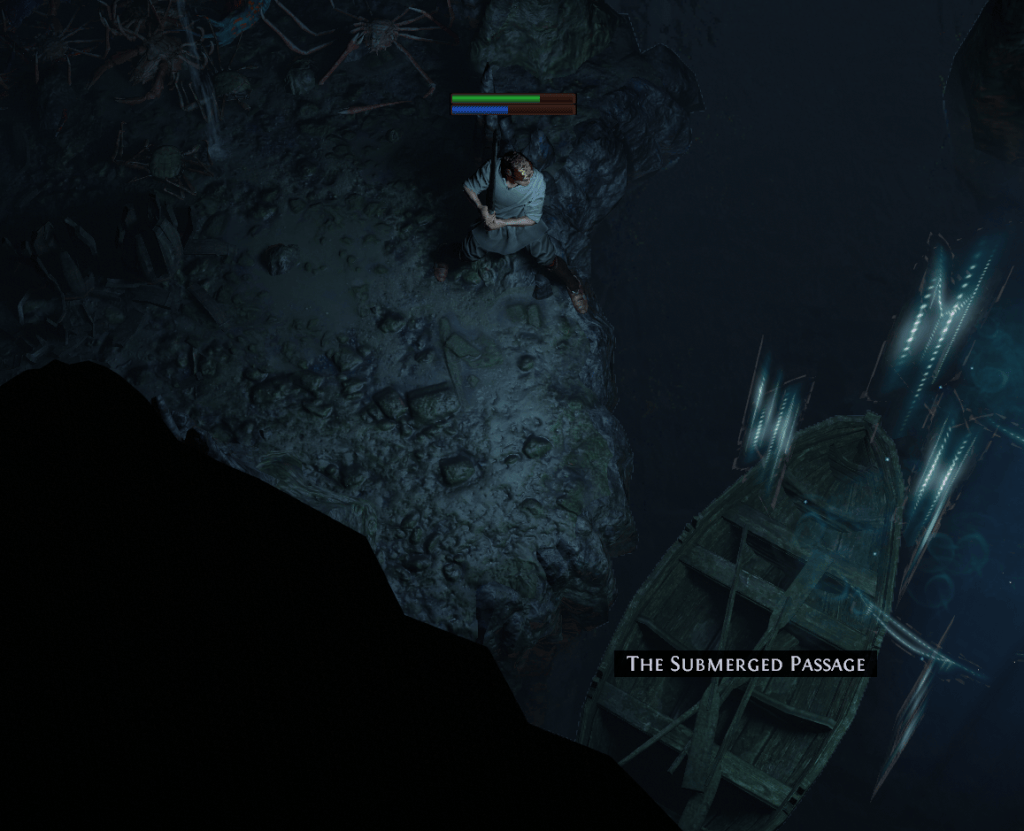
4b) From the boat in the previous area, you’re back in The Submerged Passage. Continue North until you find the next area: The Ledge.
5) Once you enter The Ledge, follow the path until the waypoint. Once at the waypoint, click it and go back to Lioneye’s watch and talk to Tarkleigh to get your Passive Point. After that, check the vendors for any upgrades, then proceed to the waypoint and click on “The Ledge”.
Choose a direction (Either North or South) to follow the water in and one way will lead to the next area, called “The Climb”
6) In “The Climb”, choose a wall to follow until you reach the next area. I usually choose right wall to follow and the next area is called “The Lower Prison”. There are optional things you can do in The Climb, but those can be freely skipped if you wish so.
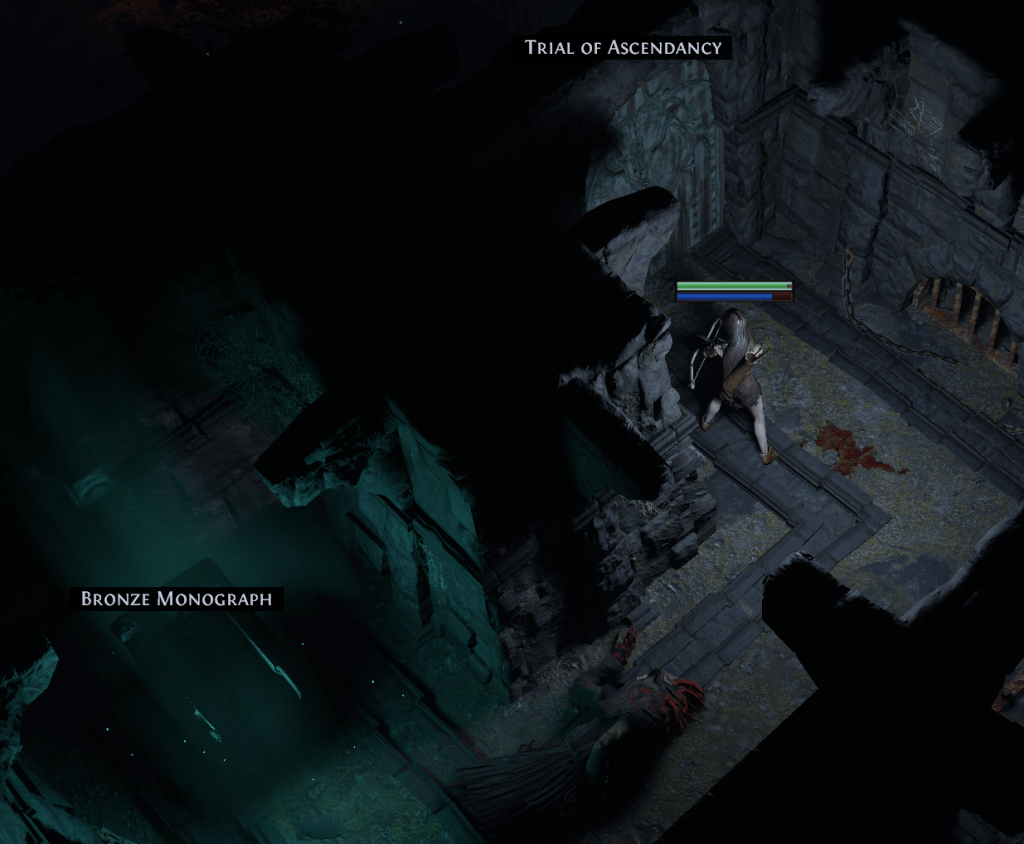
7) Once you enter The Lower Prison, this is the first area where we have to explore both ways, to find a mandatory mechanic called (The Lord’s Labyrinth) which in turn will give us “One of the keys” to enter the separate mechanic in order to get the character specialization (Ascendancy).
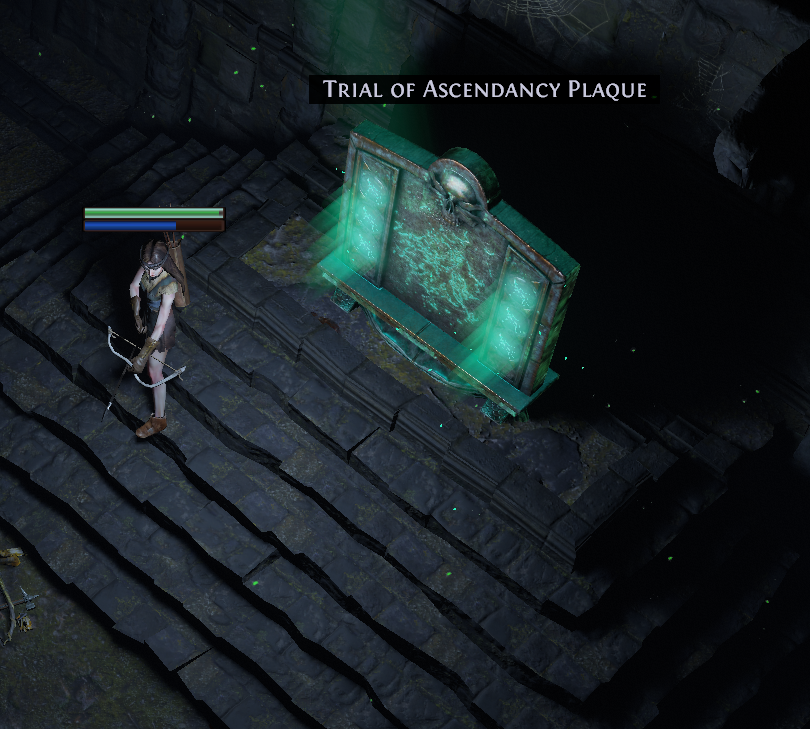
First, go north after the waypoint at the start of the zone. If you find the next zone, go the other way, however if you find A book icon and a door next to it, it will say “Trial of Ascendancy”. Open the door and proceed through the gauntlet until you see a “Trial of Ascendancy Plaque”. Click it, then a mini-portal will appear, click that and it will teleport you to the door of this Trial. This is a first of many trials that need to be completed in the campaign (They are all listed via image and Legend at the top of the page).
After you’re done with the trial, explore the area further until you get to the zone called “The Upper Prison”.
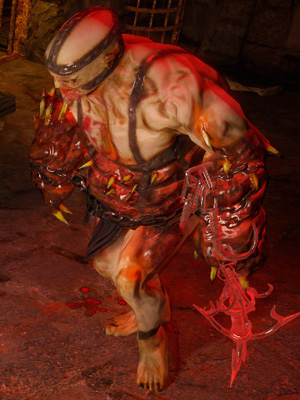
8) In The Upper Prison, your goal is to get to the end of it and defeat first “Big Boss” of the campaign. Explore the area and get to “The Warden’s Quarters”. Follow the path until you get to the boss: “Brutus”. Defeat him and proceed through the door to “The Prisoner’s Gate”.
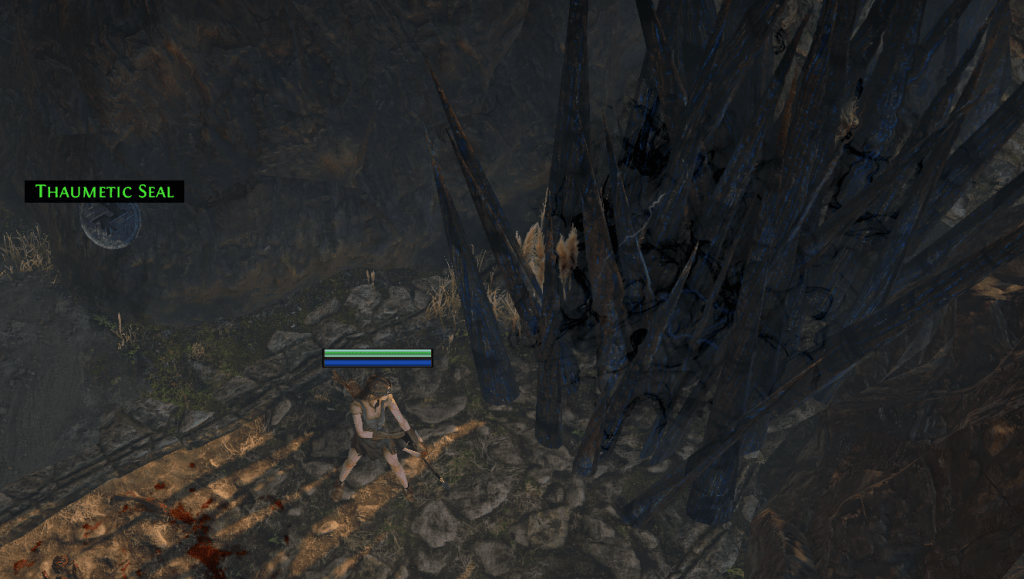
9) First thing to do in Prisoner’s Gate is to use the Waypoint to get to town to pick up the rewards from quests. Nessa gives support gems for reward and Tarkleigh gives skill gems as a reward. Once you pick up your rewards, go back to Prisoner’s gate.
Follow the road until the end where you’ll see Piety that has closed the road off. Then, hug any wall side (left/right/up/down) and follow it until you reach the next area “The Ship Graveyard”.
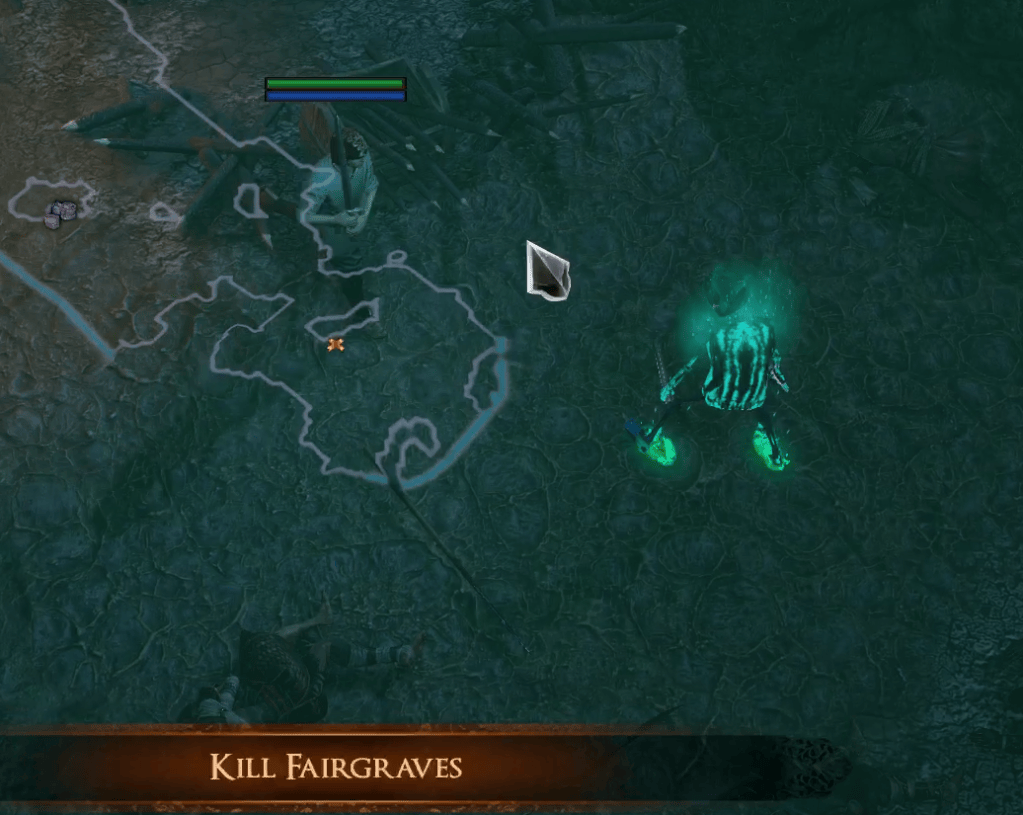
10) In The Ship Graveyard, we follow along a wall until we find Fairgraves. Once you kill him, he opens the area behind him to proceed to the next map. Follow the ocean side until you reach The Cavern of Wrath.
11) Once in the Cavern of Wrath, explore the area by following one wall, until you reach “The Cavern of Anger”.
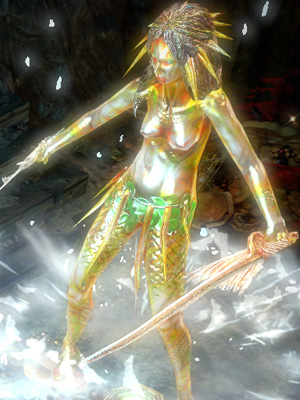
12) In The Cavern of Anger, do the same thing as in Cavern of Wrath until you reach “Merveil’s Lair”. She is the final boss of Act 1, defeating her we open a way to Act 2 “The Southern Forest”.

13) In The Southern Forest, goal is to reach the next town, that’s where Act 2’s hub resides. Follow along the path until you reach it. It’s called The Forest Encampment.

