
Written Guide:
1) Once you enter the Town Hub for this act and you’re done talking with NPCs, proceed to the next zone “The Broken Bridge”.
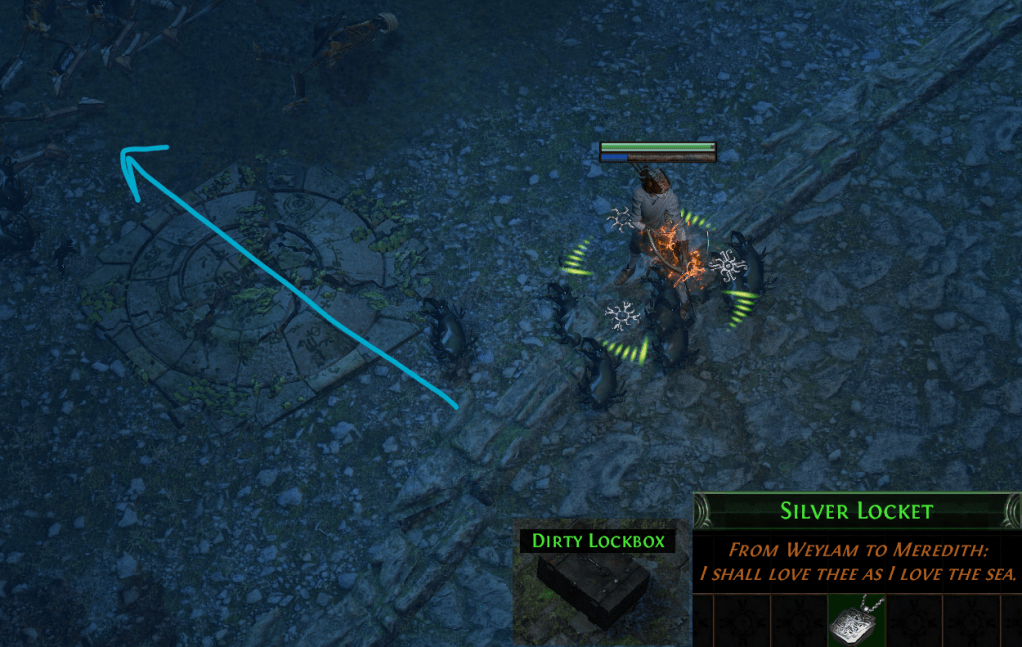
In this one we follow the path to the next zone, but when you encounter a broken waypoint, continuing on the stairs, you will see a ruin with an “!” marked. Go to it, loot the silver locket from the lockbox and we’ll give it later (OPTIONAL quest, gives an item as reward).
If you do not wish to get the optional quest, proceed along the path to the next zone “The Crossroads”.
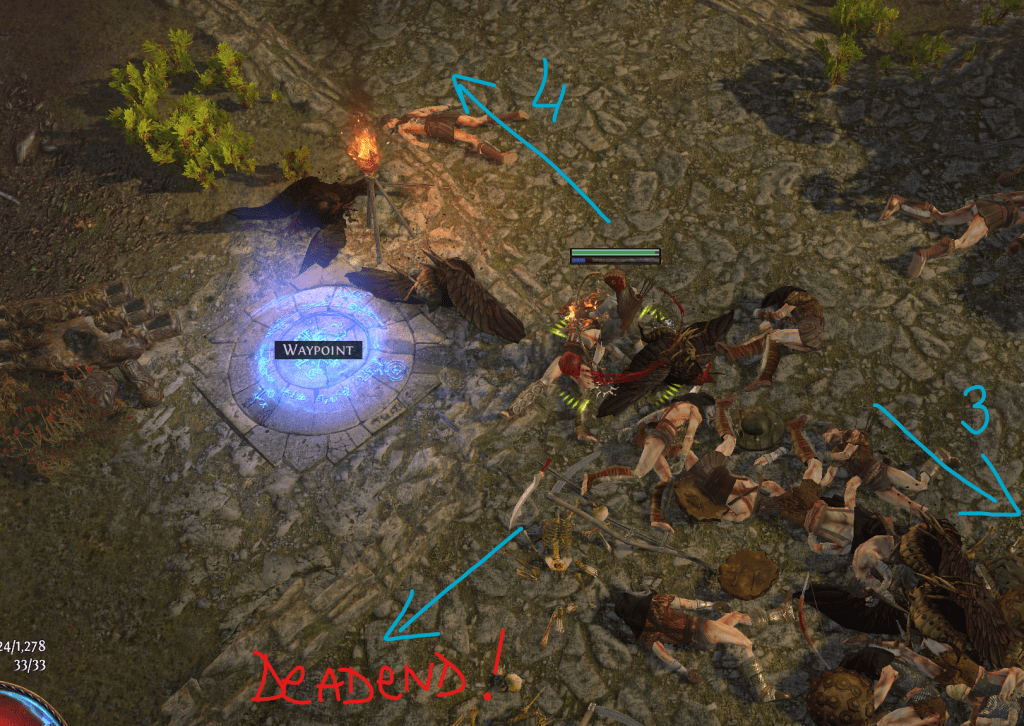
2) In The Crossroads, we’re walking to the waypoint into a branching road.
North road leads to “Chamber of Sins Level 1”
West road leads to a dead-end and
South road leads to “The Fellshrine Ruins”
I usually go south to Fellshrine Ruins first.
3) Fellshrine Ruins is a walkthrough area, where we follow the road until we reach the next zone. After you reach the end of the road, behind the plaque there’s an area we can walk in, proceed to the next zone “The Crypt”.
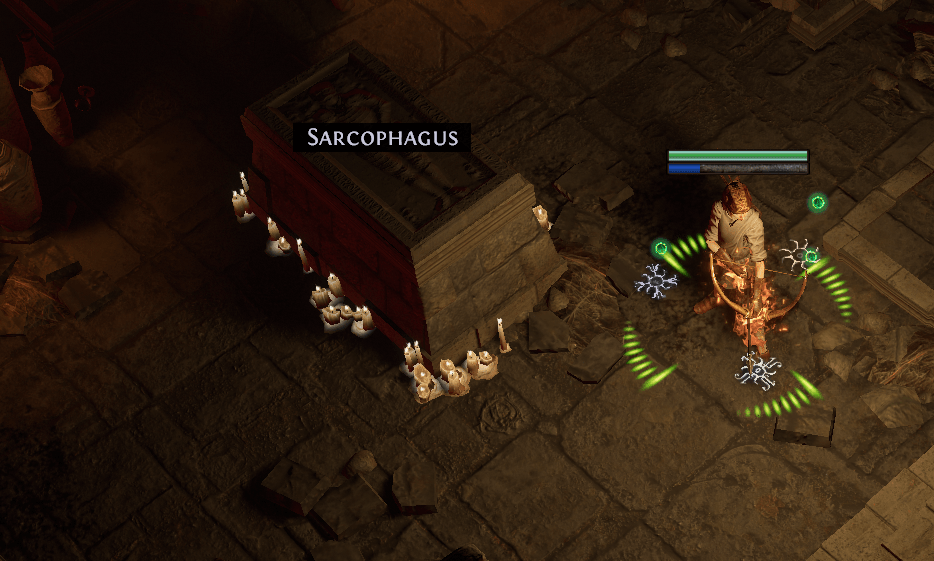
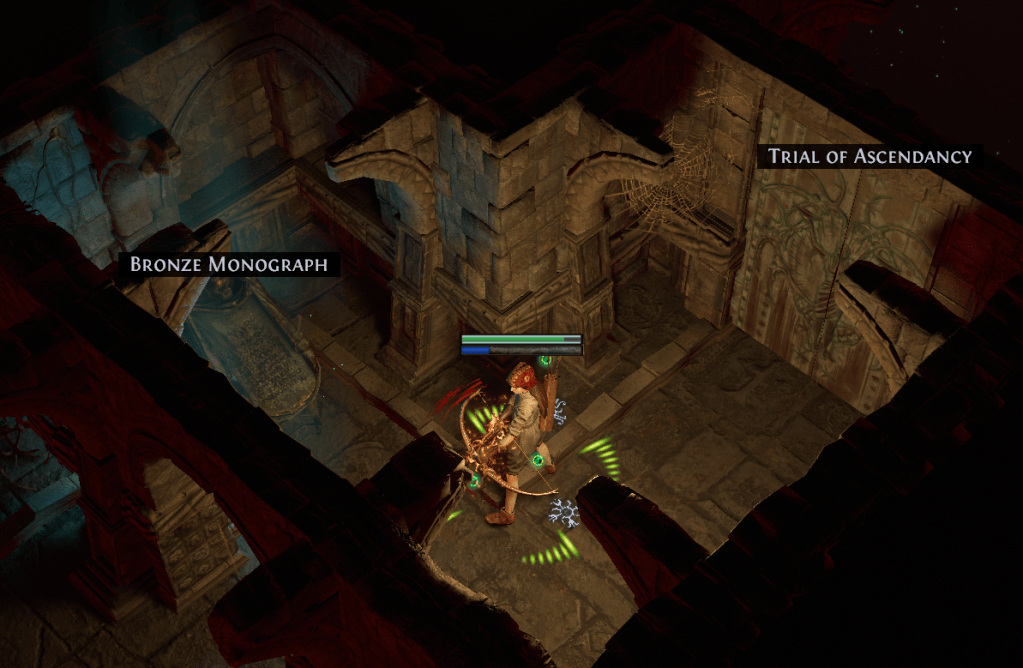
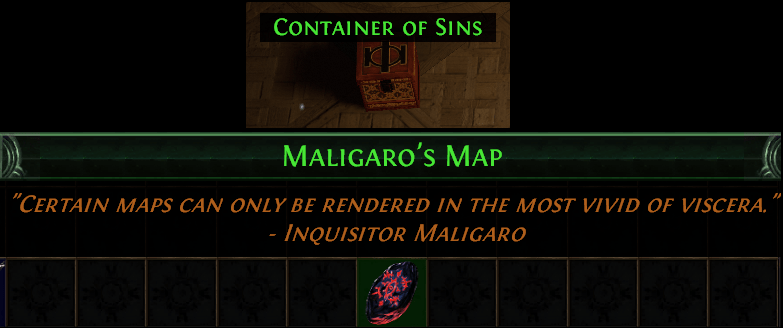
3a) In the Crypt, we have 2 objectives. One is to find the labyrinth trial and the other one is to find a “Sarcophagus”. This sarcophagus will lead to the next part of the zone. In this part, we need to get to the end of the area (follow one wall side!) to loot Maligaro’s Map from The Container of Sins. We will use this item in the next zone. Return to the town to give in quest (OPTIONAL one):
Waylam rewards a flask
After that, return to Crossroads and head North.
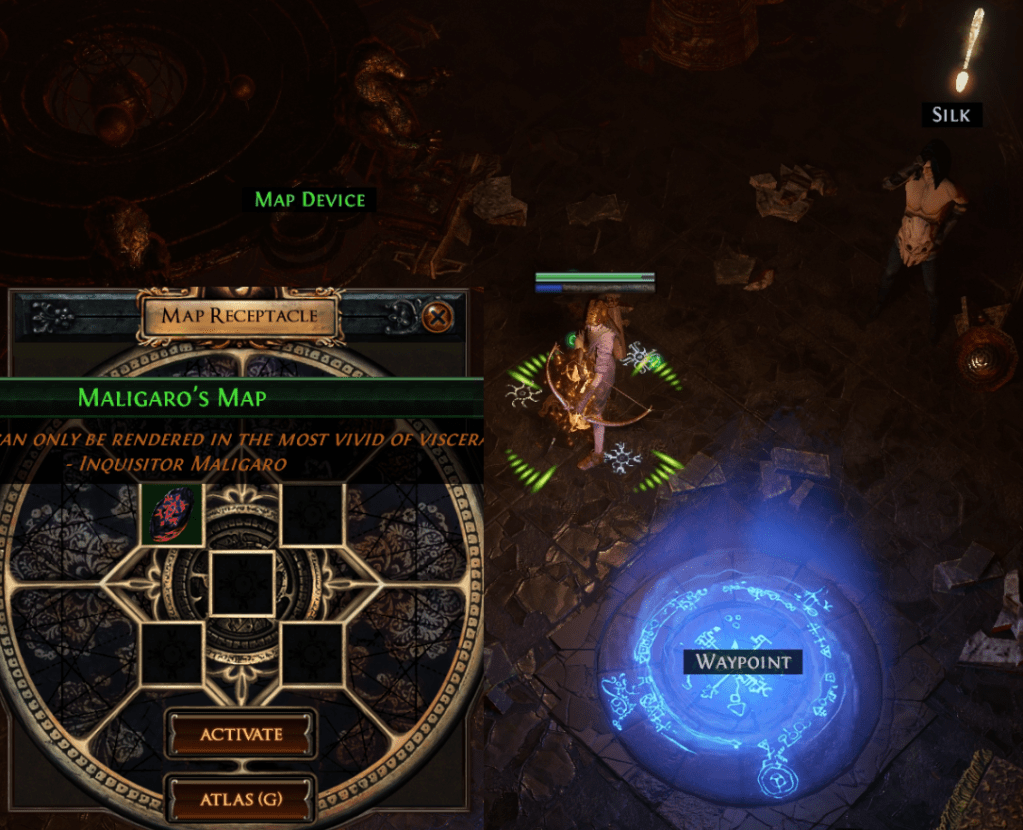
4) Proceed towards Chamber of Sins Level 1. In it, we need to get to the middle of the zone, where waypoint, Silk & map device are. Currently, talking with Silk does nothing, but when you interact with the map device, the new window will open (with 4 cubes, not 5 like in the image, we unlock fifth place for map device later in the end-game!) and you need to put “Maligaro’s Map” in it.
Once you do so, portals will open to a new area. WARNING: THERE ARE ONLY 6 PORTALS THAT APPEAR, WHICH MEANS YOU CAN ONLY DIE 6 TIMES IN THAT ZONE. If you die more than 6 times, you have to go back to the Crypt and get Maligaro’s Map again!
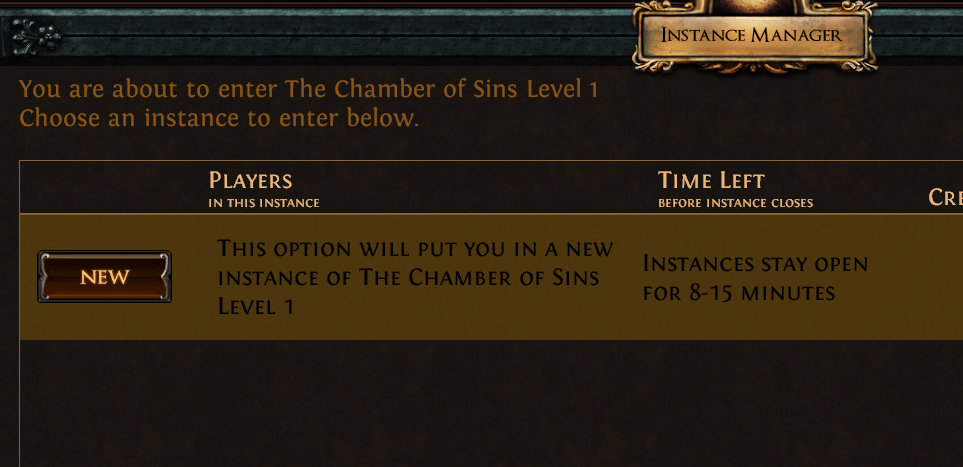
4a) To reset a quest zone, hold CTRL+Left click on either the entrance OR the waypoint of the zone, it will make a pop-up “Instance manager”. In it, on the left side click “NEW”. Every zone has ~8-15 minutes before it closes by itself, but you can force this reset with the method in brackets.

4b) Upon opening Maligaro’s Map, enter a portal to “Maligaro’s Sanctum”. In it, we’re looking for Maligaro himself, follow one edge of the zone until you reach a small wooden bridge. Cross it and find another wooden bridge to cross. Once you do it again, find the arena which is “Maligaro’s Workshop”.
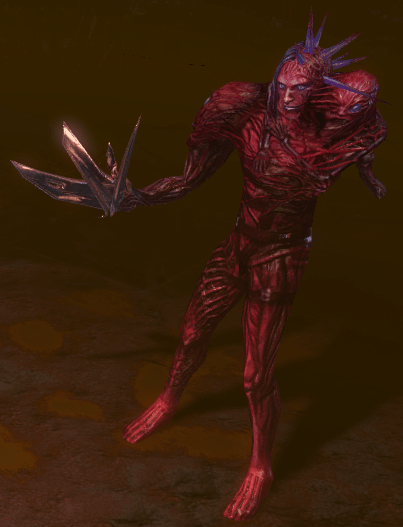
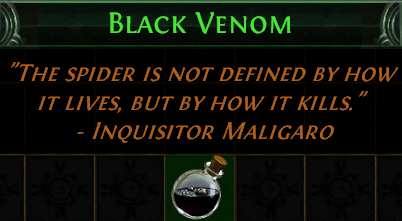
4c) Enter it, defeat Maligaro and his 2 spawns, then loot “Black Venom”. Use a portal scroll to go back to the Chamber of Sins Level 1 and talk to Silk.
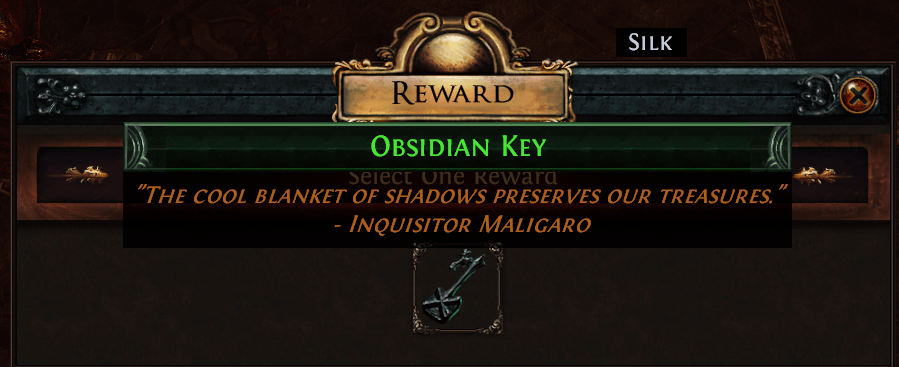
Silk will give us an Obsidian Key to unlock Chamber of Sins level 2. To get to it, it is ALWAYS in the same direction where waypoint (and carpet) is! Enter Chamber of Sins Level 2.
5) Chamber of Sins Level 2 has 2 things to do. Labyrinth trial & going through a very long corridor towards the next zone “The Den”. I suggest following one wall until you reach the Trial first. If you’ve reached the long corridor first, turn back. Once you’re done with the trial, proceed to the Den.

6) The Den is a Walkthrough zone, just pass it until you reach “Ashen Fields”.
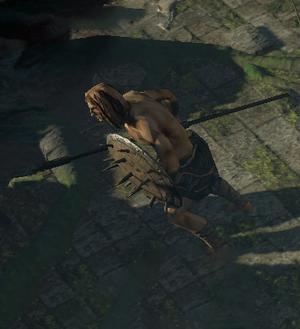
7) Once you enter Ashen Fields, follow the road South (it’s always South!) until you reach “The Fortress Encampment”. Once you enter it, defeat Greust to get access to the next area “The Northern Forest” and another Minor Pantheon point (Ralakesh).
8) Once you enter The Northern Forest, immediately teleport back to town and talk to NPCs for rewards and for an additional quest item (we place that one in the Northern Forest!).
Eramir gives Book of skill (+1 passive)
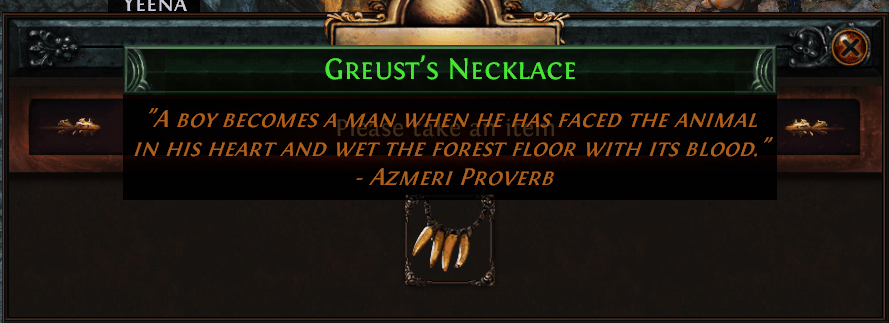
Helena gives a pair of 4 linked boots (Very good!) and she gives us a quest item “Greust’s necklace” that we need to place on a certain shrine.
Go back to the northern forest now.
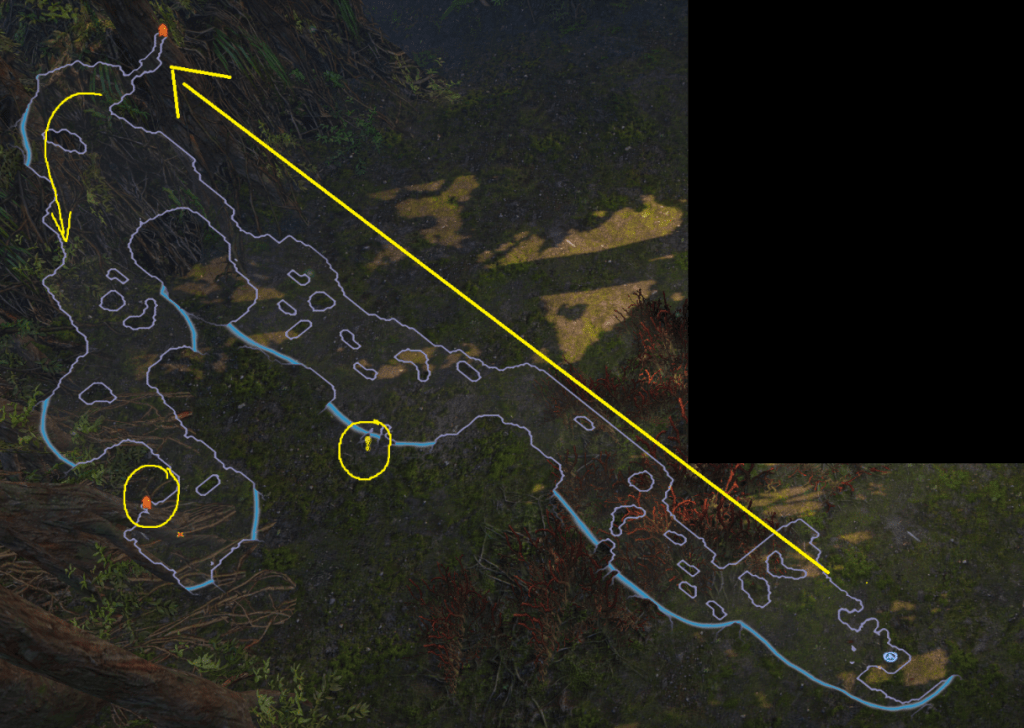
Northern Forest has multiple things we need to do. Following the water, we get to the next zone The Causeway. Walking along to the next zone we can either find the side area (The Dread Thicket) or the Azmeri Shrine (“!”). If you do not find one (most often it will be the Dread Thicket), from the entrance to Causeway, follow a different wall of the zone. This way you skip the middle part of the zone and you will most likely find what you’re missing. CAUTION: This zone can be a MESS more often than not.
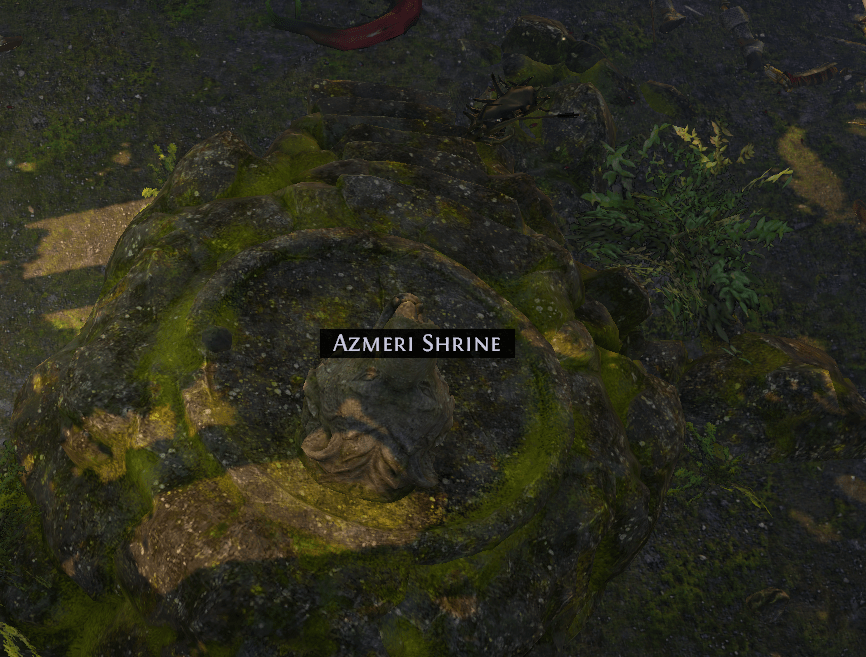
8a) When you find the Azmeri shrine, click it and defeat enemies that spawn, then proceed to The Dread Thicket (if you have not talked to Helena in town before, you can use a portal scroll next to the shrine to go back to town).

8b) In The Dread Thicket we need to collect 7 Fireflies that are randomly scattered throughout the zone and we also need to enter the boss arena and defeat the boss. More often than not, one firefly is close to the Den of Despair, which is the boss arena. Enter it and defeat Gruthkul. Talking with Sin gives Soul of Gruthkul minor pantheon point. After you’ve collected the fireflies and killed Gruthkul, proceed to Causeway.
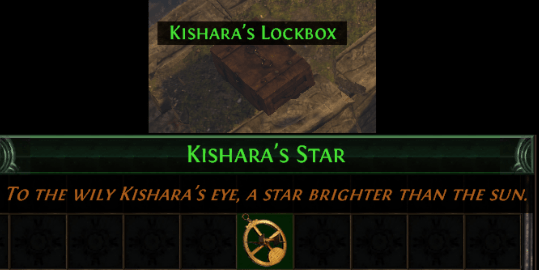
9) The Causeway is a walkthrough zone which at the end of it, just before the door to “Vaal City” has a box that you need to open and loot the item Kishara’s Star. Enter The Vaal City.

10) Vaal City is a zone YOU WILL GET LOST IN. The best way to do the zone is to head north from entrance until you hit a wall. Then head left until the end of the wall then continue North. Repeat the process until you find a VERY LONG WALL and the waypoint/next zone is on the other side of that wall. If you find a book on the map, usually the way to go is a bit South and East from the book. Good luck with this zone. Once you’re at the waypoint, talk to Yeena, she will take the fireflies and open the way to The Temple of Decay Level 1.
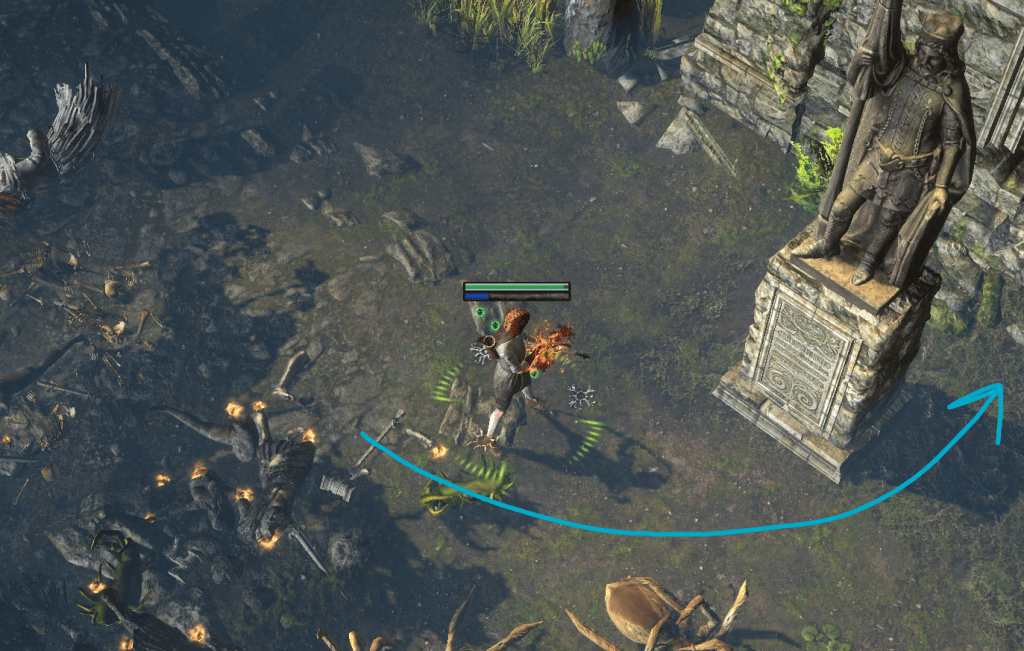
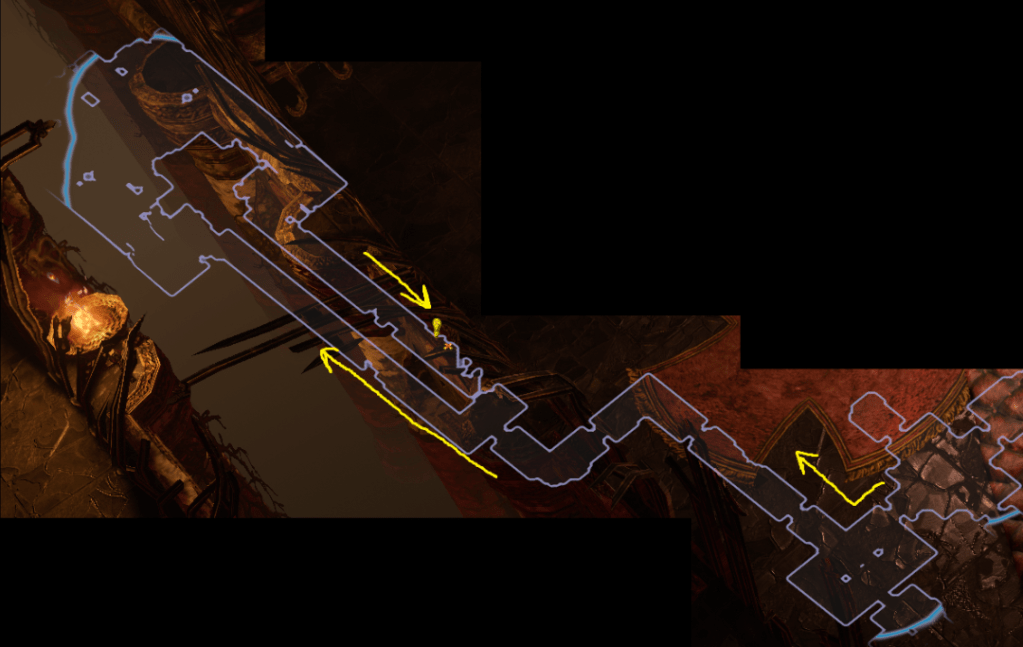
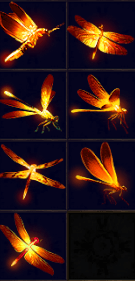
11) From Temple of Decay level 1 until the Last boss of Act 7 (Arakaali), the path is similar to Act 2 as descend the tower to the bottom. Follow along until stairs, repeat, repeat. Flame dash helps greatly here to skip some broken bridges (Image).

11a) Killing Arakaali & Talking to Sin gives her Soul for the Major Pantheon Point. Proceed to The Sarn Ramparts.
12) In Sarn Ramparts, the waypoint is immediately at the start, use it to get to the Bridge Encampment and talk with NPCs to get your quest rewards.
Waylam gives a book of skill (+1 passive +2 refunds)
Eramir gives a book of skill (+1 passive) &
Helena gives an amulet.
Return to Sarn Ramparts (Act 8) and follow the big building to reach the next Act’s Hub “The Sarn Encampment”.
This would also be a great time to do your second Ascendancy Trial (Video Guide HERE)
