
Written Guide:

1) Once you arrive in the Sarn Encampment, you can talk to NPCs, check vendors etc. and then move on to the next area “The Slums”.
The Slums have 2 things to do, one is sewer grating which requires keys from the quest that is found in “The Crematorium” zone. Finding Crematorium is a priority for now.
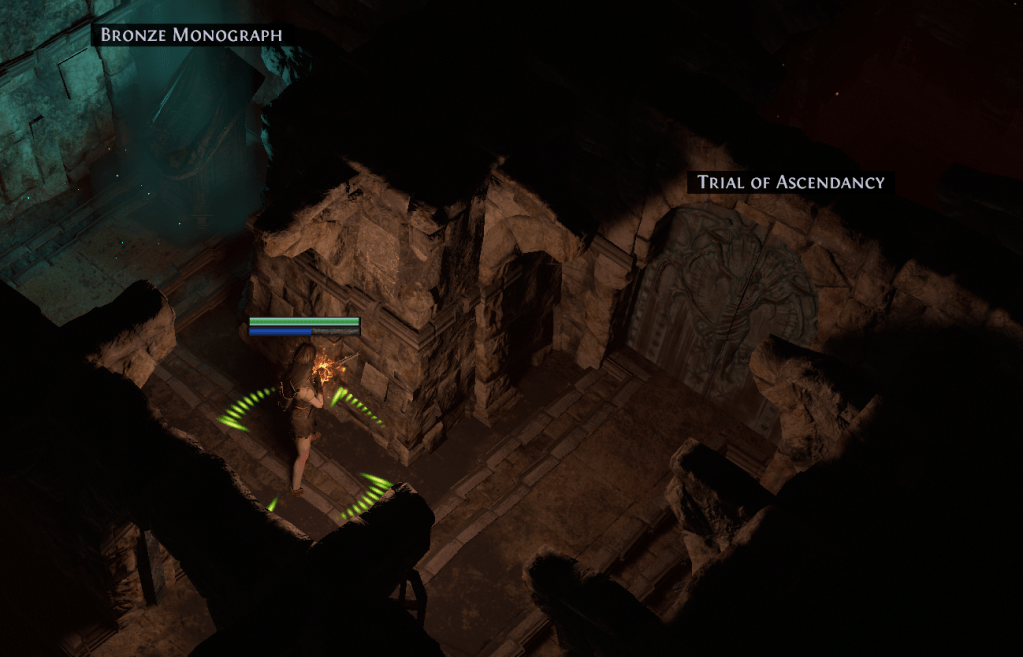
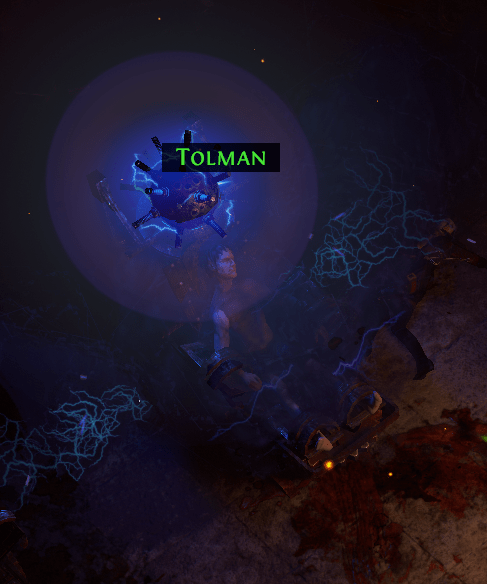
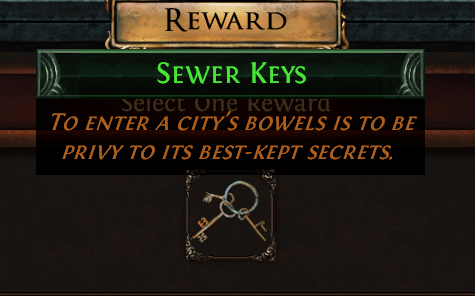
2) Once you Enter The Crematorium, there are 2 things to do. One is Labyrinth trial and the second one is to get to the end of the map and defeat Piety. Once you defeat Piety, click on Tolman and get his bracelet. After that, return to town (MANDATORY) and talk to Clarissa so that she will give you the Sewer Keys. Pick up the keys, go back to The Slums and find Sewer Grating to open it and proceed to The Sewers.


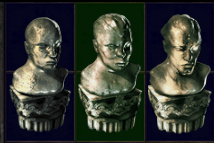
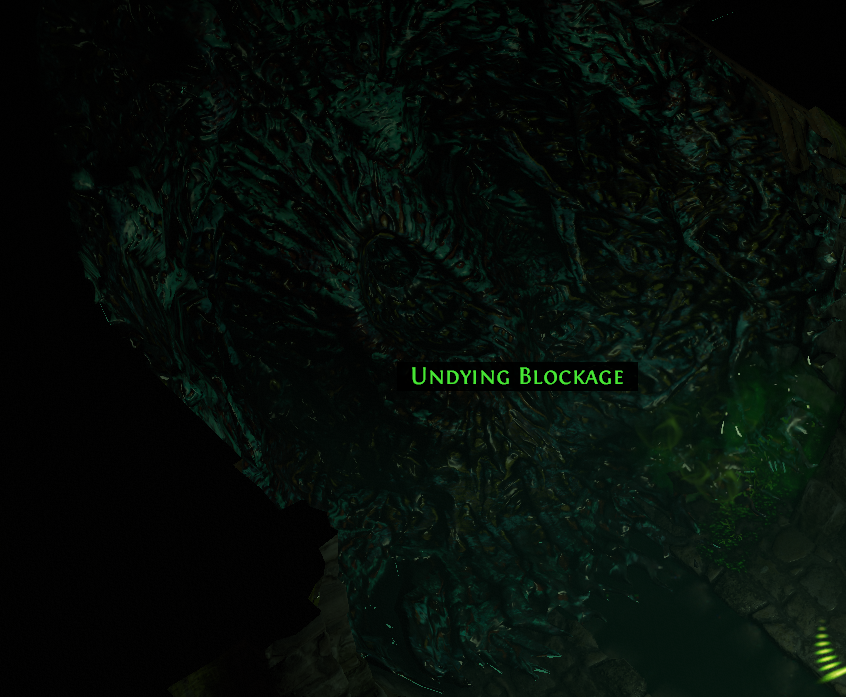
3) The Sewers for now has 2 objectives. Finding busts for Hargan and proceeding to the next area. First bust is very close to the entrance of the zone (BEFORE WAYPOINT!!!), once you find the waypoint, there will be an “Undying blockage” that blocks the path (quest item later opens this!) and when you continue through the zone, the second bust should be close. Last bust is a bit far and it is opposite of the next zone, therefore if you go to the next zone with 2 busts, you’ve missed the third. Once you have collected all 3, proceed to “The Marketplace”.
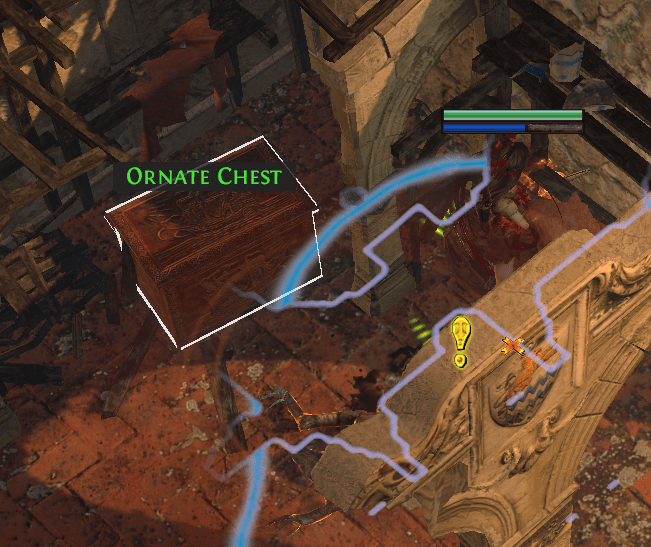
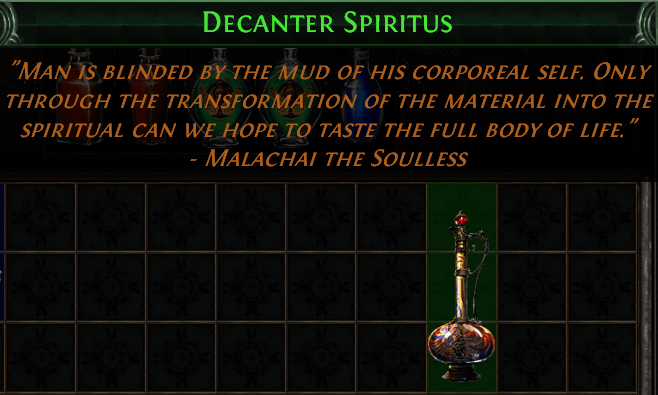
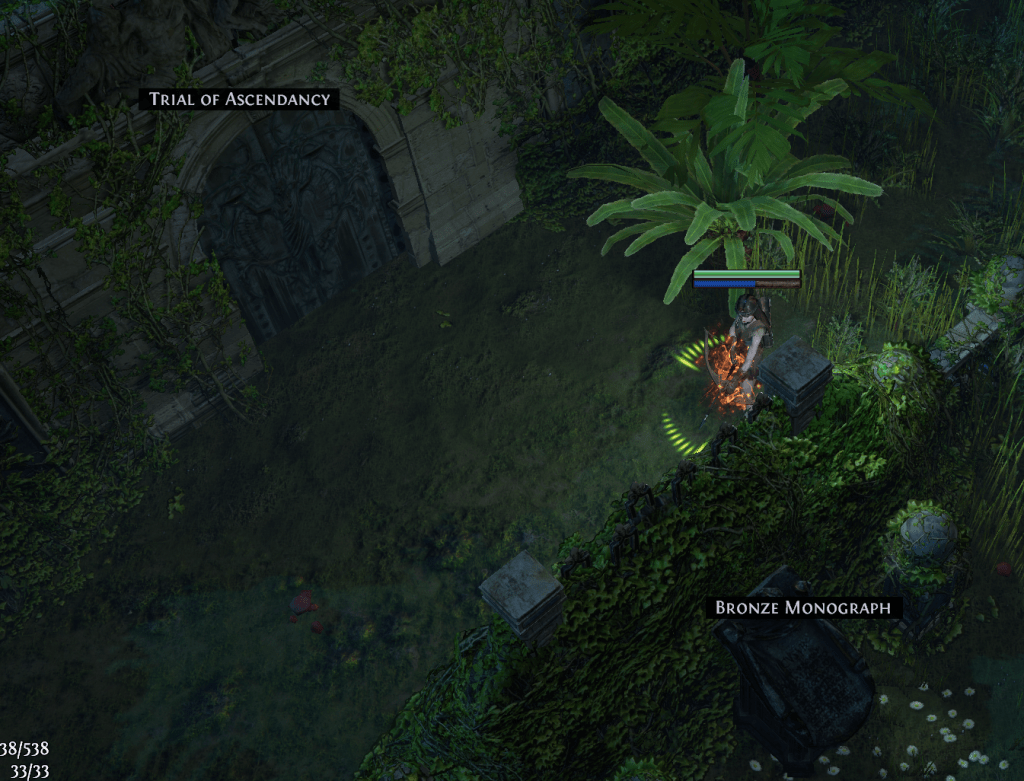
4) In the Marketplace, there are 2 things to do. One is after the waypoint on your FIRST PLAYTHROUGH EVERY LEAGUE which is doing “The Catacombs” zone for the Labyrinth Trial. Second thing is to find a quest item that can sometimes pop before waypoint and sometimes after waypoint. It is in a cache with a big “!” on it. Once you do Catacombs and get Decanter Spiritus from the chest, proceed to the next area “The Battlefront”.

4a) In The Catacombs, you’ll find a Labyrinth Trial, which you MUST do ONCE every league in order to access first Ascendancy Trial. There’s nothing else in this zone worthy of mention.
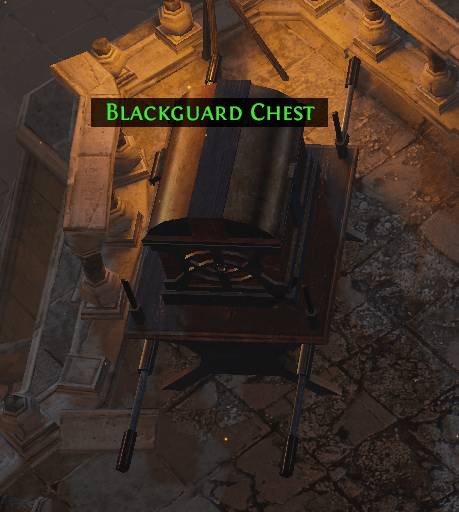
5) In Battlefront, you want to follow the left wall (It’s always facing the same way) until you get to the waypoint, where you will have an item to loot nearby from the Blackguard Chest (Ribbon Spool). Once you loot it, go straight north (following the left wall) until you reach an area called “The Docks”. Enter The Docks now.

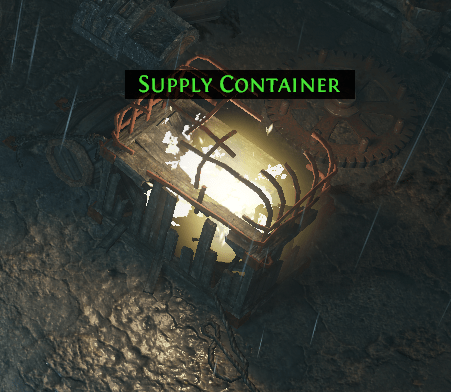
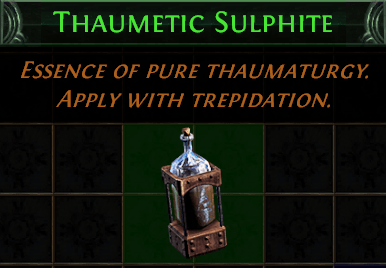
6) In The Docks, we have two things to do. Find a waypoint (and Fairgraves nearby) and find a quest item in the Supply Container (which contains Thaumetic Sulphite). Follow along one edge of the zone until you find them both. They are always at the edges. Talk to Fairgraves to remove Decanter Spiritus & after you get both things, return to town via Waypoint & talk to NPCs for quest rewards:
Hargan gives -> Book of Skill (1 passive & 2 respect points)
Maramoa gives -> Curse / Aura Skill Gem
Other Quest items are needed for later.

7) Once you’re done with NPCs (check vendors again!) go to the waypoint and back to The Battlefront. Once back there, this time go North-East (Top Right) until you reach the next area “The Solaris Temple Level 1”. Enter it.
In this area, goal is to get to Level 2. Follow the big red carpet on the ground.
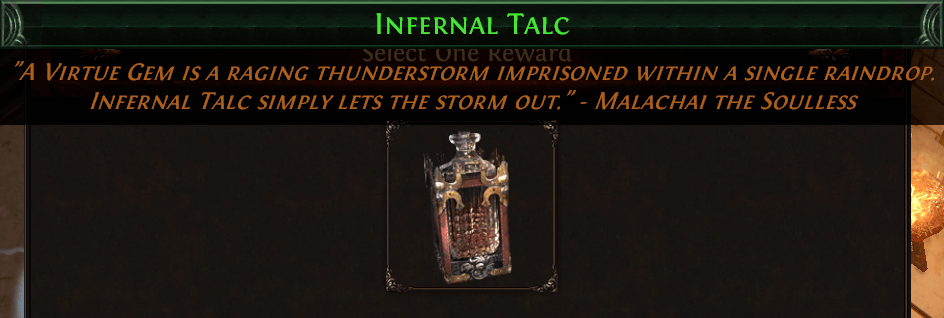
Once you reach level 2, do the same thing until you reach an NPC “Lady Dialla”. Talking with her gives an amulet as a quest reward and Infernal Talc needed elsewhere. Once you’re done with her, look to the left to “Eternal Laboratory”, enter it and at the end of the corridor, you will find a crafting recipe. After you’re done now, portal to “The Sewers” where we will remove the Undying Blockage now (left of waypoint).

8) Proceed through the open path to next zone “The Ebony Barracks”.
In this zone, we have multiple objectives. Waypoint’s immediately there, there’s Gravicious (unique mob) to kill in the top middle part of the zone and 2 additional areas.
East and up from waypoint is “The Imperial Gardens”
Full north is “The Lunaris Temple Level 1”
On the way to Lunaris Temple is Gravicious to kill.
I suggest starting from The Imperial Gardens.
You can kill Gravicious first before heading elsewhere, it’s your choosing.
9) Enter The Imperial Gardens. Here we have an optional objective which is “hidden” in a corner of the map (random).
First: Follow along LEFT wall until you reach the zone called “The Library” (should be roughly in the top middle)
Second: Full top left is the next Ascendancy Trial (which you should complete immediately!)
Somewhere in the middle of the zone is the waypoint which you should grab on the way to first 2 objectives.
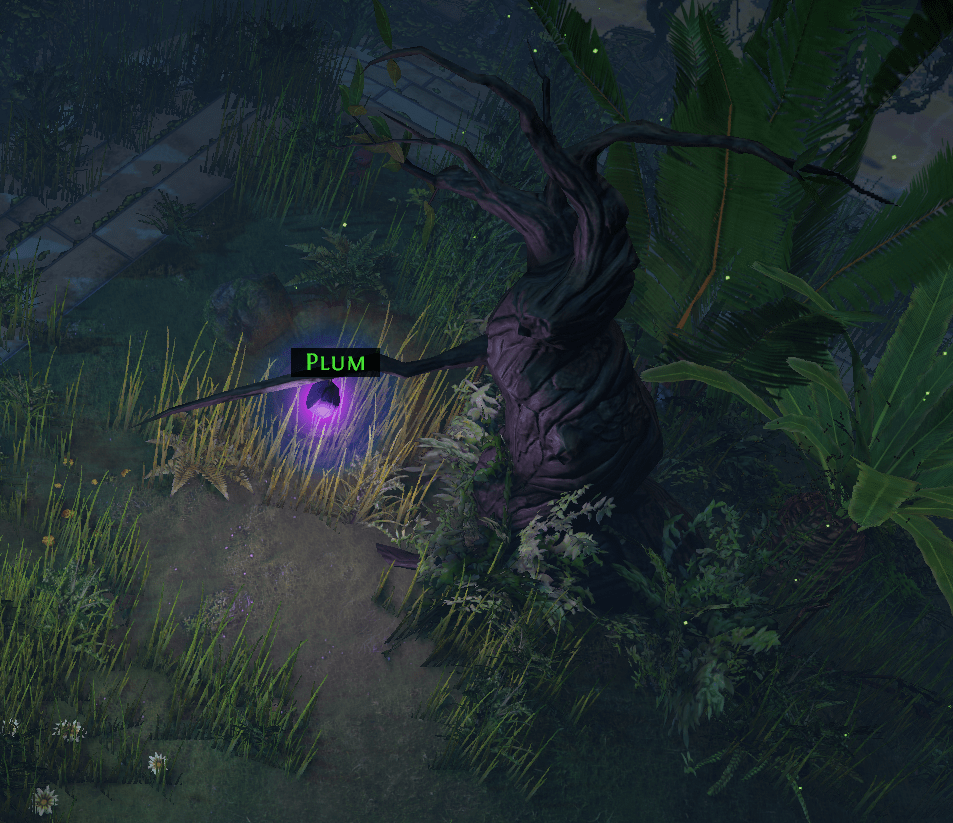
In a random corner there’s a “Plum Tree” that is an OPTIONAL quest to bring to Fairgraves (rewards a ring!)
And lastly, there’s a door to the next zone, that’s currently locked for us, no need to search for it right now.
After you’ve completed the trial & picked up the plum, proceed to The Library.
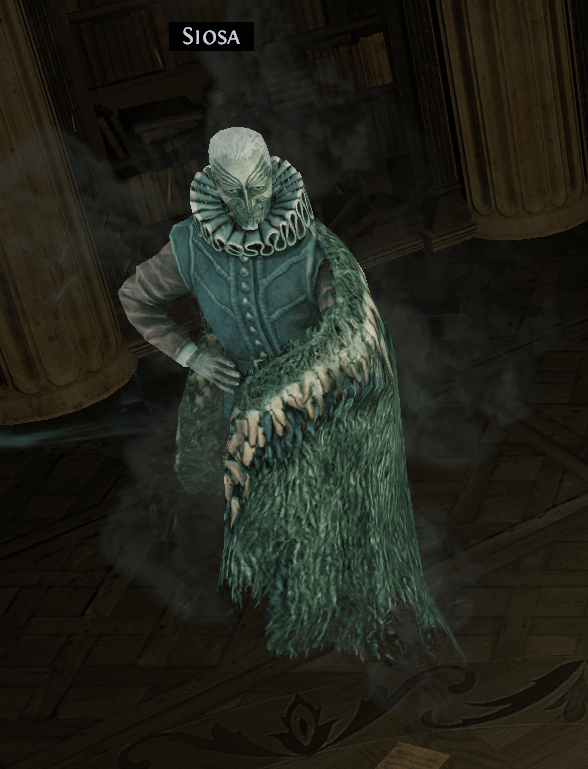
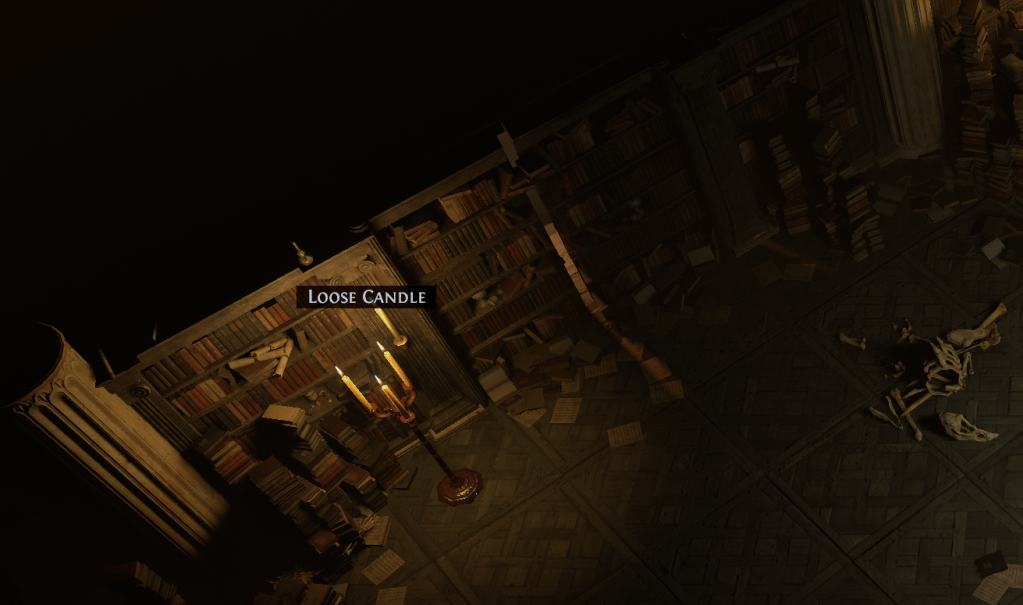
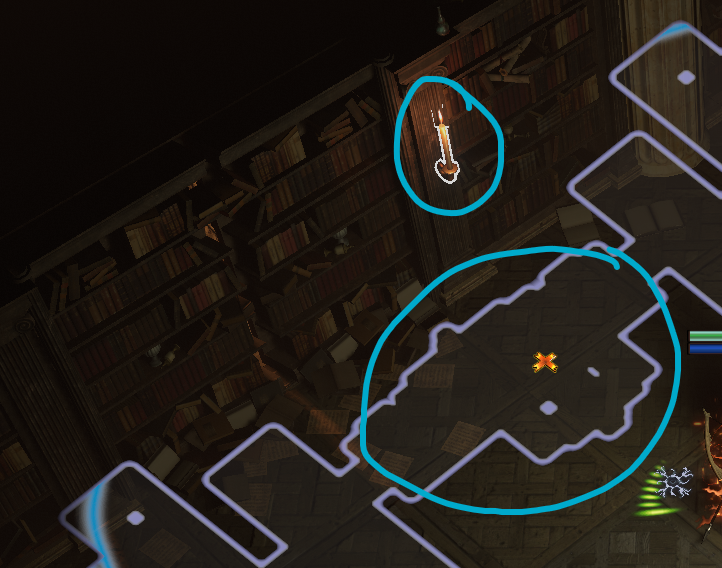
10) The Library is an important zone/quest as it opens a vendor that sells ALL the obtainable gems up to this point (all classes included of course!). Search the library until you find a waypoint and an NPC called “Siosa” nearby. Talk to him and proceed until you find a very specific loose candle that you can interact with, that will open a secret door to the next zone (The Archives). Enter the Archives.
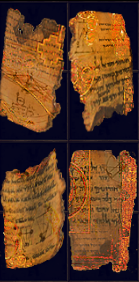
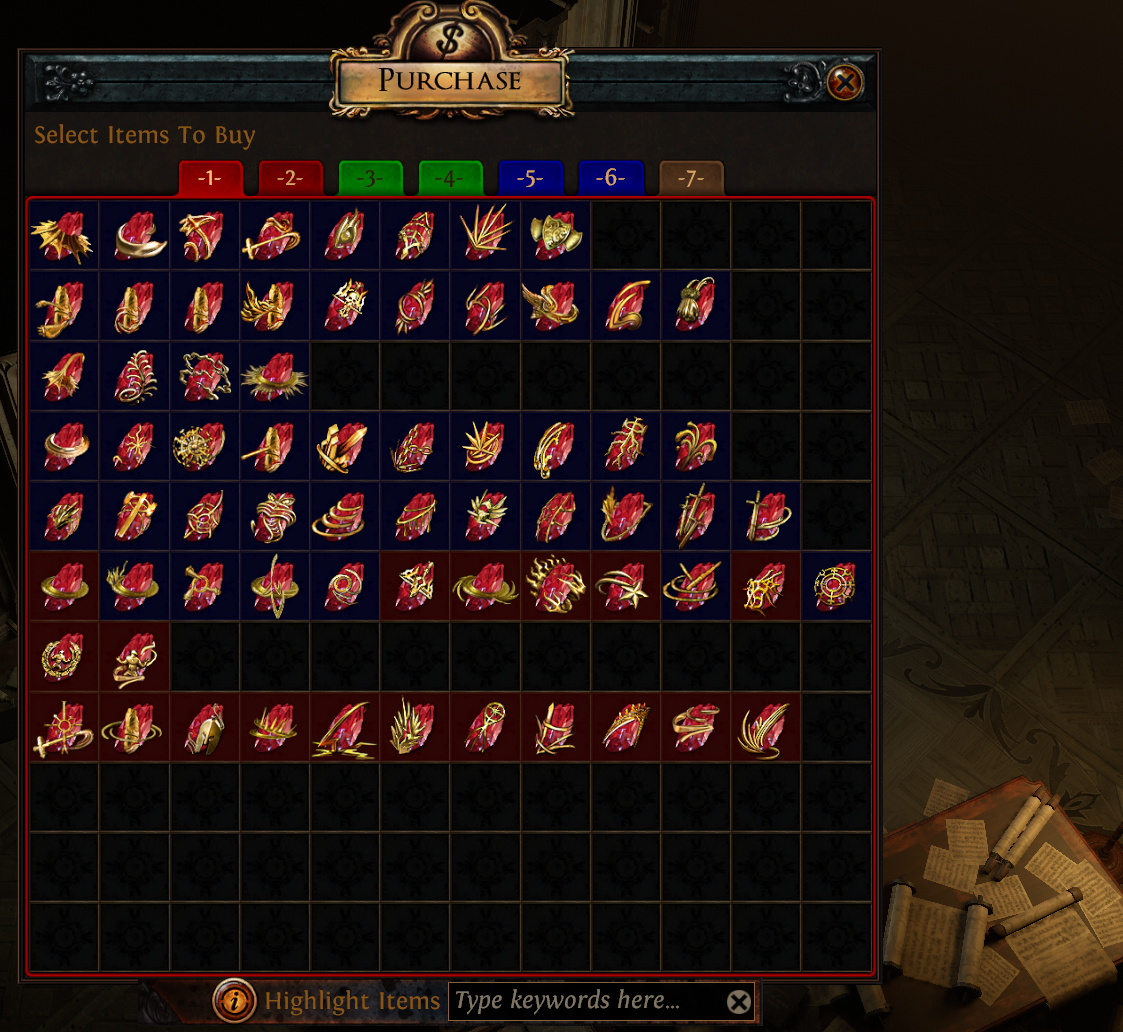
10a) In the Archives we have 2 objectives. One is to find 4 golden pages for Siosa (marked with “!” on the map!) and there’s a hidden crafting recipe that can be found in this zone (Video Here). Once you collect the pages, return to Siosa. He will reward you with a support gem.
The only issue with him as a vendor is that you need to have currency items in your inventory (and not in the stash tab!). Once you’re done with Siosa, return to The Ebony Barracks.

11) Once you’ve dealt with The Ebony Barracks, proceeding north you will enter “The Lunaris Temple Level 1”.
In Lunaris Temple, strategy is the same as with Solaris Temple, follow the carpet until you reach an unique enemy “Kole” (Brutus). His room leads to the waypoint and Level 2. Continue by following the carpet.
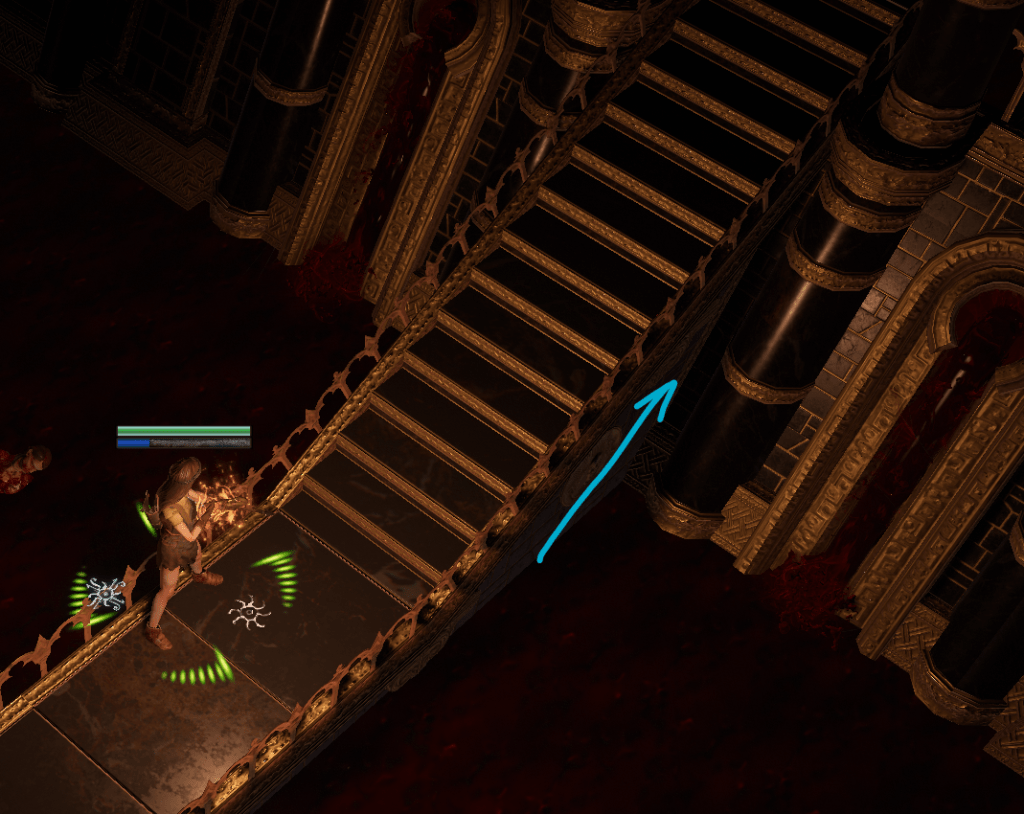
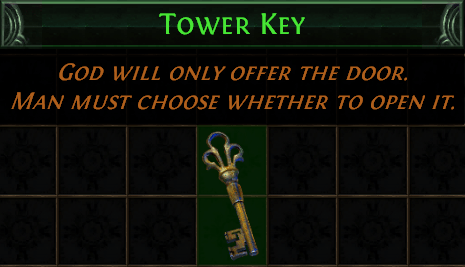
11a) Enter Lunaris Temple Level 2 and proceed to the end of the map by following the direction of where the stairs lead, until you reach Piety. On defeat, Piety drops a Tower Key which we can use in the Imperial gardens. Pick up the crafting recipe in the room and then portal to town.
Talk to NPCs in town for quest rewards:
Maramoa -> Skill Gem
Grigor -> Book of skill (+1 passive point)
When you’re done with NPCs, go to the Waypoint and go to “The Docks” to give plum to Fairgraves (OPTIONAL, can be skipped!).

12) After this, go to The Imperial Gardens and find the door to the next zone where we can use the key (usually top right!). Enter “The Sceptre of God”.
This area is a little bit tricky as you need to find the Stairs to proceed all the way up (similar to act 2 final area). Search around the map by following one wall side. If you find a waypoint, it is completely optional.
At the end of this map, you will enter “The Upper Sceptre of God”.
13) In the Upper Sceptre of God, goal is to reach Dominus (Final boss of Act 3!). Once you reach first set of Stairs, in this level, you will find a character that is imprisoned. Click to open her from her cage and you will permanently unlock “Scion” class for your account. Continue onwards to Tower Rooftop where we fight Dominus.

14) Once you defeat Dominus, Enter The Aqueduct and then proceed towards Act 4 Hub – Highgate.
Before you proceed with Act 4, go back to Sarn encampment and enter Aspirants’ Plaza to do your ascendancy. Guide for it is HERE.
