
Written Guide:
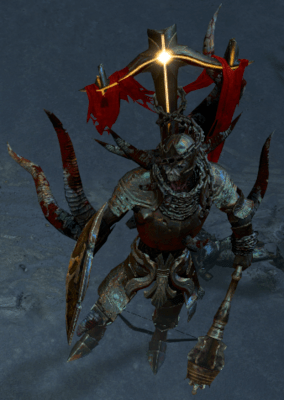
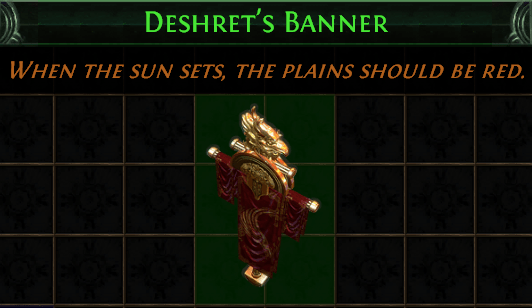
1) Enter The Dried Lake at the bottom of the hub. Clean all the way down to Unique enemy “Voll”. Kill him and loot Deshret’s banner.
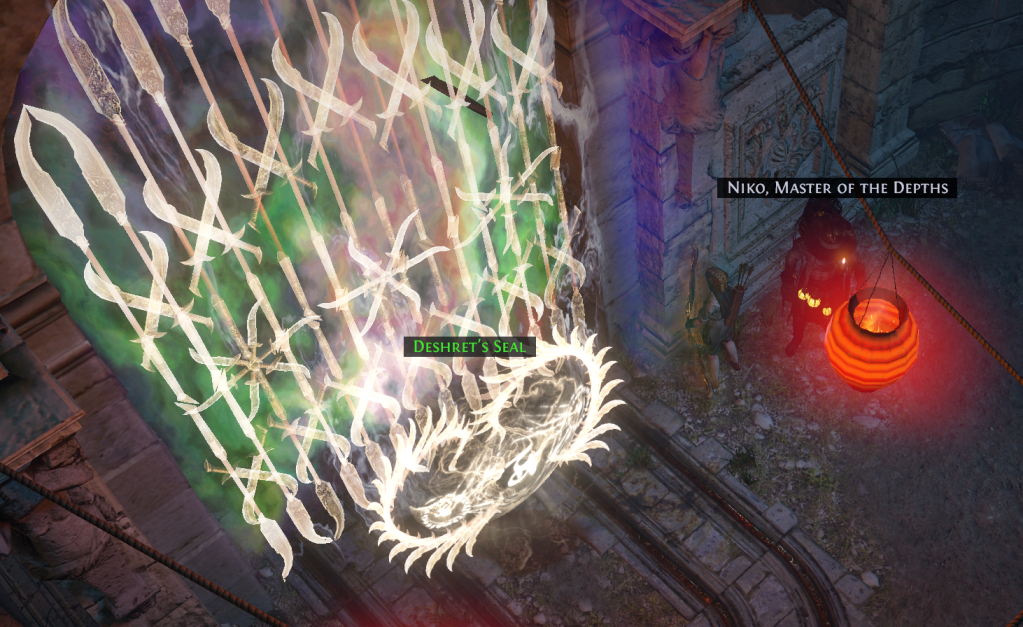
2) Go back to town and now go up and click on Deshret’s Seal which will now open the new area “The Mines”. Optionally (for now), you can speak to Oyun to get a Golem/Skill gem for a reward.
Entering The Mines Level 1, we just need to pass to level 2.
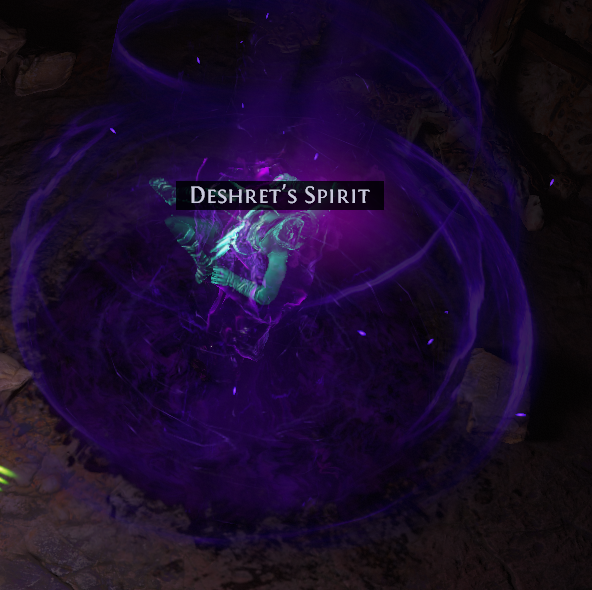
Entering Mines level 2, we have 2 things to do. Find Deshret’s Spirit for a quest (Click her to free her) and continue to the next zone “The Crystal Veins”.
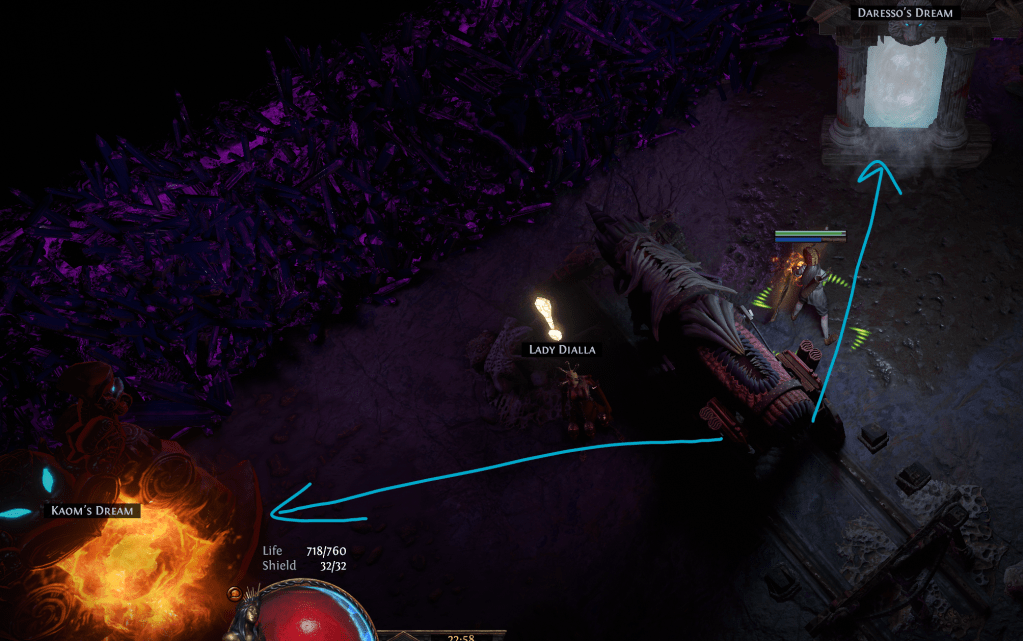
3) In Crystal Veins, we just need to pass through the zone until we find the waypoint. There, Lady Dialla will give us a choice of where to go next. You can choose either Kaom’s Dream zone or Daresso’s Dream zone. You need to complete both. This guide will start with Daresso’s Dream.

4) Enter Daresso’s Dream and proceed to the end of the area where in an arena you’ll fight an Unique mob “Barkhul” and some chickens. Kill him and proceed to the next zone “The Grand Arena”.
5) In Grand Arena, the goal is to get to Daresso, who’s the boss of this area. Proceed through different arenas and passageways until the end of the zone “The Ring Of Blades”. Kill Daresso and loot the Eye of Desire. Logout or portal scroll out and come back to The Crystal Veins. Talk to Dialla so that she takes the quest item (which saves inventory space). Proceed to Kaom’s Dream.

6) Pass through Kaom’s Dream to enter Kaom’s Stronghold. Nothing in these zones happen, therefore you can skip as many things as you want. At the end of the zone is the arena “Caldera of the King”. Enter it and kill Kaom, then loot “The Eye of Fury”. Return To Dialla in the Crystal Veins. She will now open the way to the “Belly of the Beast level 1”.

7) In Belly of the Beast Level 1, you just want to proceed to Level 2. Once you get to level 2, immediately place a portal so that if you die, you can respawn to town and come back in (this helps skip the entirety of level 1!). Go to the end of the zone where the arena with Piety (yes, again Piety) is. The Bowels of the Beast is the name. Defeat her, talk with her and she will give us passage to the next area “The Harvest”.

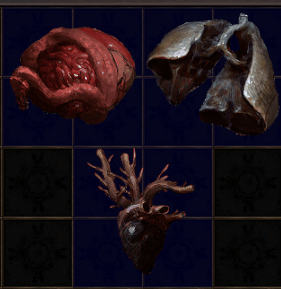
8) Harvest has 1 main objective: Collect organs in order to fight final boss of Act 4 – Malachai. Find a waypoint and then go either left or right first until you encounter 3 arenas in total. One has Maligaro, one has Shavronne and the last one has Doedre. Defeat them and loot their organs, then with those, go back to the waypoint and talk to Piety. Enter the Black Core and Defeat Maligaro. When you defeat him, go back to town (he opens a portal to Highgate after death) and talk to NPCs for the rewards.
Tasuni gives Book of skill (1 passive 2 respec points)
Dialla gives a support gem.
Proceed to “Ascent” zone.
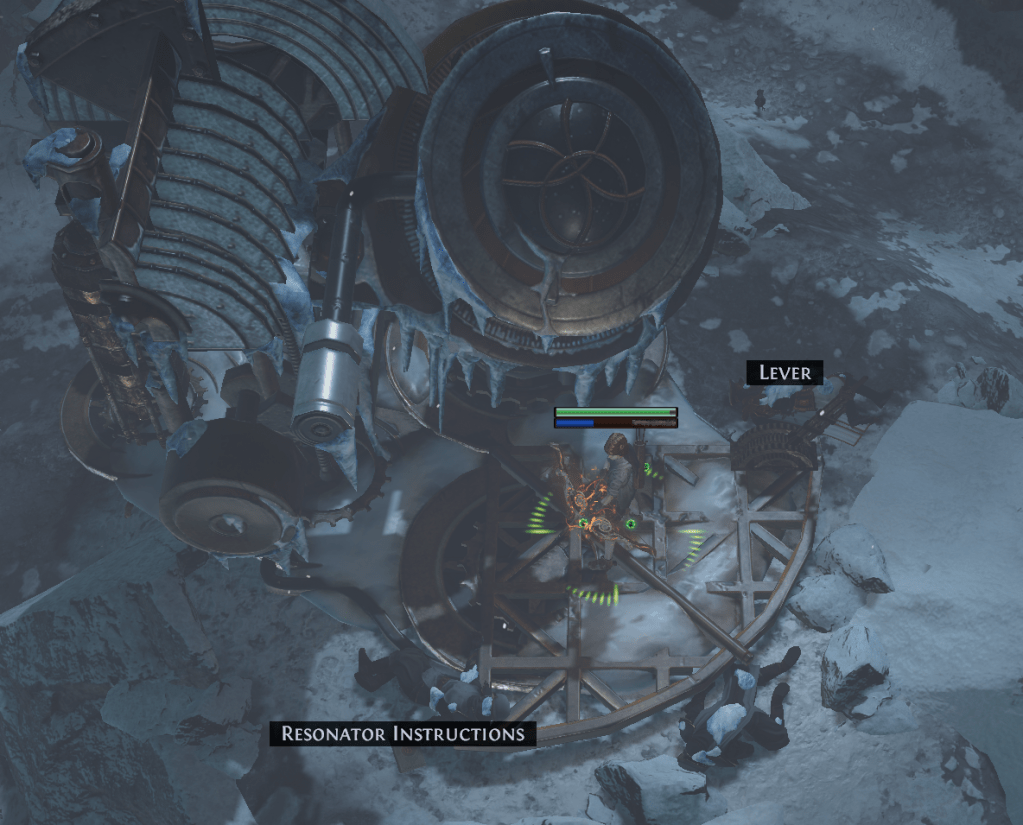
9) Ascent is a zone where you always follow the left side. Cross the bridge, click on the lever on the device and you will be teleported to the next area “The Slave Pens”.

10) In Slave Pens, you always want to follow the left wall-side and go as top left as possible. At the end of the map, defeat Overseer Krow and enter the Act 5 Hub – Overseer’s Tower, through the ladder.
