
Written Guide:
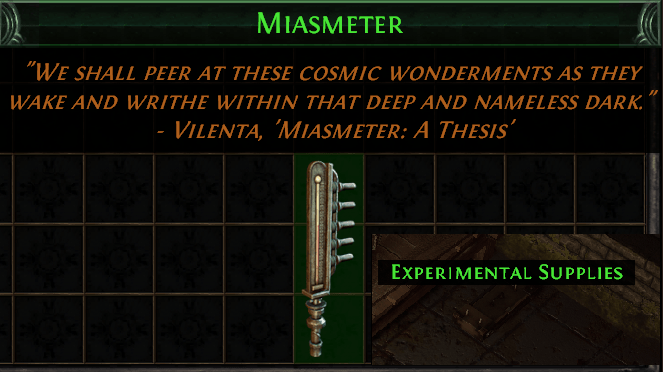
1) Enter the first area, “The Control Blocks”. Here we have to do 2 things, find “Miasmeter” and proceed to the next area.
Hug left wall and dash through the broken fences to make the journey a bit faster. Then, proceed through the map and on the opposite side of the miasmeter should be the zone boss “Justicar Casticus” (Follow the same wall until you reach him!). He drops Eyes of Zeal. Proceed to the next zone “Oriath Square”.

2) Oriath Square is yet another “walkthrough” zone, where we follow the right wall until we reach the next zone “The Templar Courts”.
3) The Templar Courts is the same as Oriath Square, walkthrough zone. Follow the left side until the next area “The Chamber of Innocence”.
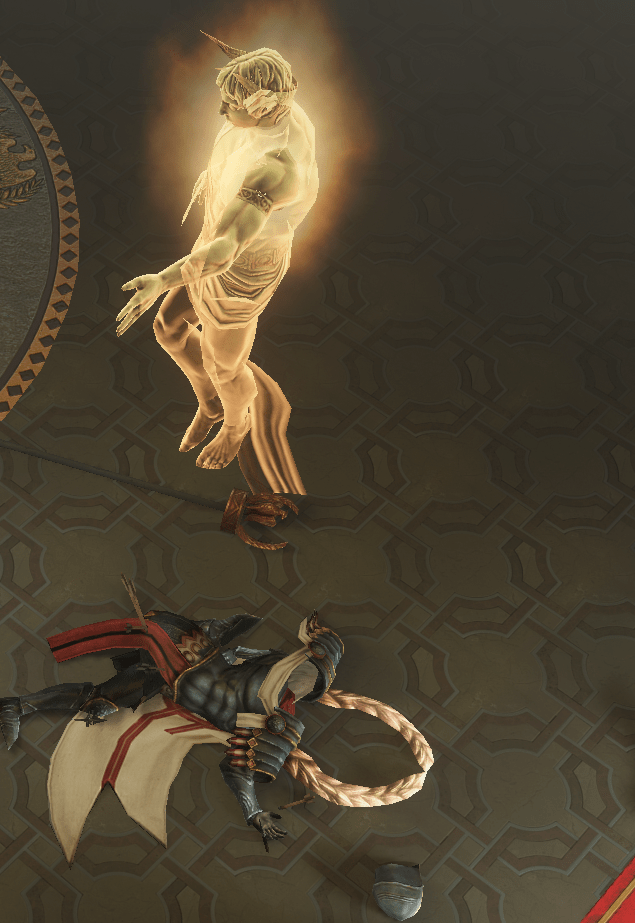
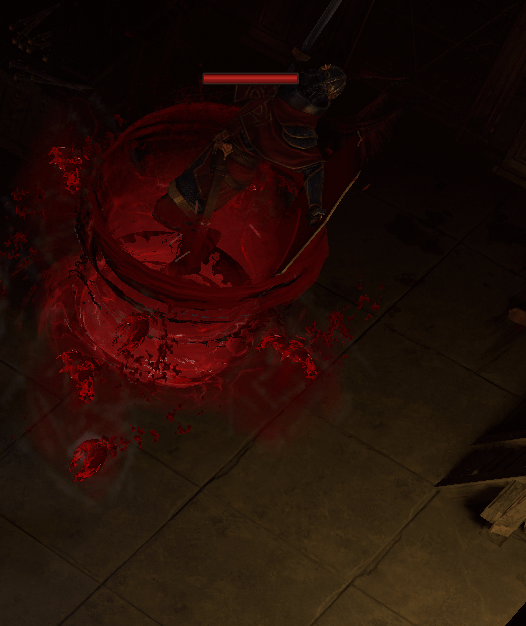
4) The Chamber of Innocence is one of the best zones to farm exp in, so if you get lost in here, nothing’s going to waste. The goal of the zone is to get to the boss arena where we fight the unique boss “Innocence”. Sin will appear, talk to him, there’s a cutscene and then you can continue by going back to The Chamber of Innocence (THE RIGHT DOOR!!!). Proceeding next to Bannon, we enter the new zone “The Torched Courts”.
5) Torched Courts is the opposite of The Templar Courts, just go up and left and you’ll get out of it to the next zone “The Ruined Square”.
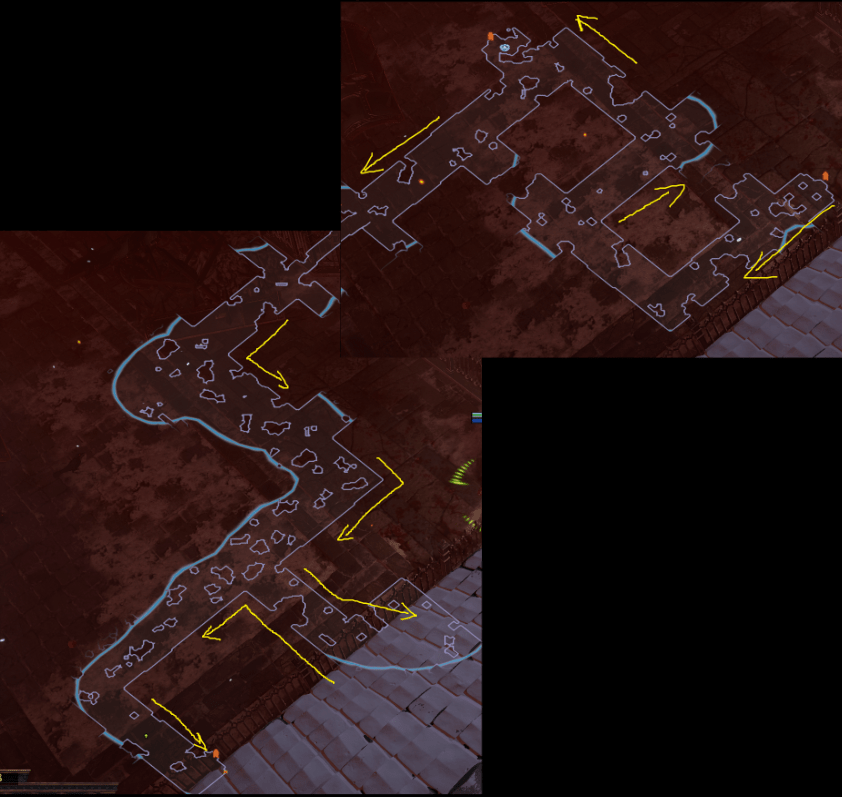
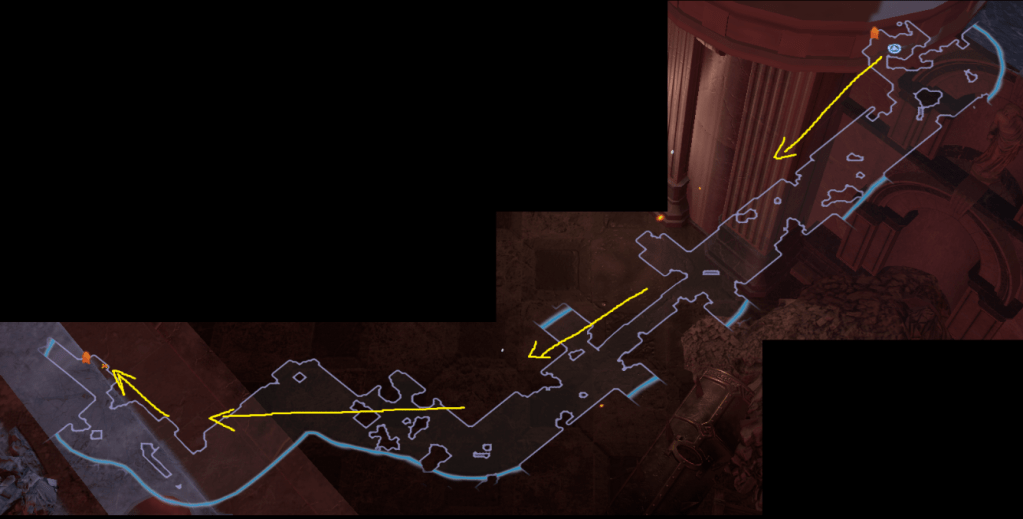
6) Ruined Square is the area that has many things in it, I’ll walk you through how I do it. Once you enter it, head west (you have to go down first, then up, then west) to the waypoint where also The Ossuary is.
After the waypoint, go straight down to the big town center, then head East. Once you hit the corner, follow the wall down and East until you get to an unique mob “Utula”. Kill him and then go back to the town square and follow the same wall South and then a bit to the east is the last area for now, The Reliquary.
This one you want to enter and do now. We’ll come back to Ruined Square later.
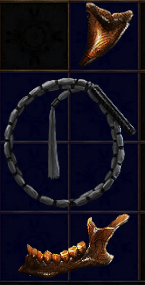
7) In the Reliquary, you need to find 3 items of Kitava (Kitava’s Torments). Start from any corner you’d like, they are spread apart in the zone. Good exp zone as well. After you get all 3 torments, portal back to town and talk with NPCs.
Lani gives a ring with resistances (VERY useful!), Flask choice, jewel choice and book of skill (+1 passive +2 refund points)
Vilenta gives a book of skill (1 passive point)
Bannon gives a weapon of choice (or shield/quiver).
Once you’re done with NPCs, go back to ruined square via waypoint and enter “The Ossuary”.
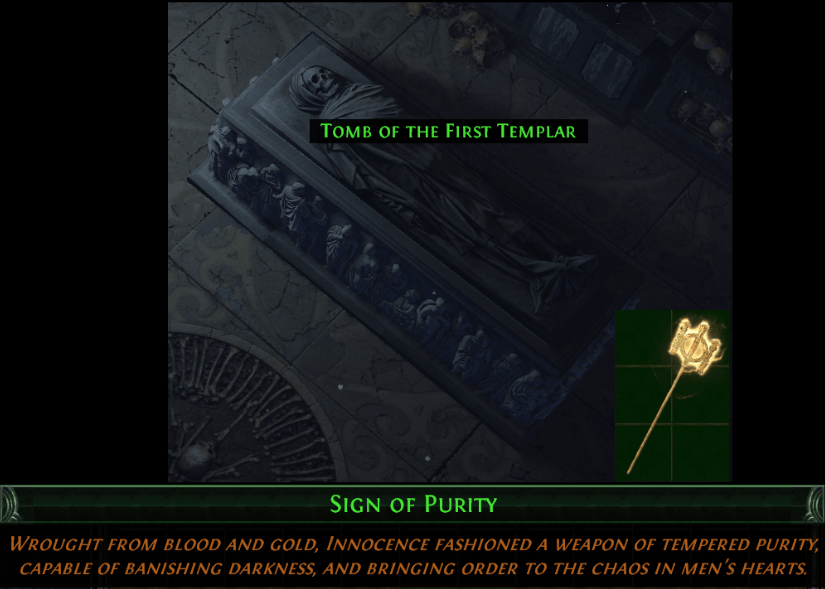
8) In Ossuary, we’re trying to find The Sign of Purity and we follow the right side fully, until we reach the item. When you get it, click the lever nearby and pick up the crafting recipe. After that, return to The Ruined Square in chase of Kitava’s area.
9) From The Ruined Square, we follow the left wall South until we reach “The Cathedral Rooftop”.
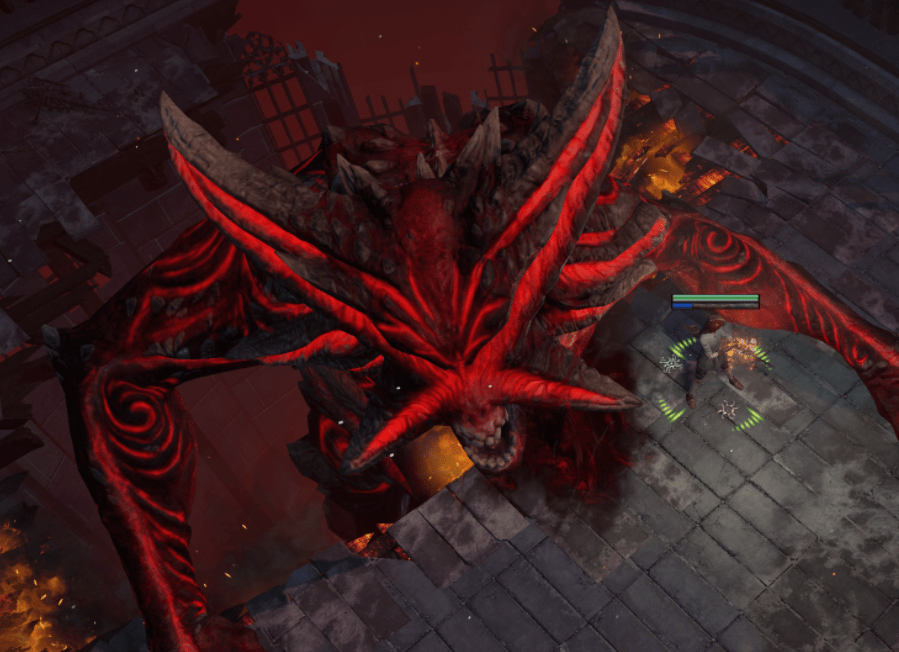
9a) Entering the zone, we need to get to the end of it (quite linear) to reach Cathedral Apex. There we click on Cradle of Purity and it will start the Final boss fight of the first part of campaign – Kitava.
After being defeated by Kitava (fight ends at his 50%), we lose 30% to all resistances and we’re sent back to Lioneye’s Watch. Go to the dock and talk to Lilly Roth to get sent back to Wraeclast.
If you have completed everything as is, you’re now done with Act 1-5, including all rewards. Congratulations!
