
Written Guide:

1) At the start of Act 6 and second half of the Campaign, you want to do the left side area in Lioneye’s Watch called “The Twilight Strand”. This area needs to be fully cleaned and after that we talk to Lilly Roth to receive a book that gives us 2 passive respec points, however, she can now be placed in our hideout (/hideout in chat or accessed by waypoint bottom right symbol) to serve as a gem vendor. She has ALL the gems from the base game.
2) Once you’re back in town, check vendors and proceed to “The Coast”. Follow the coastal line until you reach the Waypoint, where you can proceed to two areas. Tidal Island is OPTIONAL (rewards an item), while The Mud Flats continues the story.

2a) Entering Tidal Island, we’re looking for an unique mob to kill. Follow along the left side of the zone. Kill Riptide and then from the Chest, loot Bestel’s Manuscript. You can portal back to town now and talk to Bestel for your reward (rare belt/amulet)
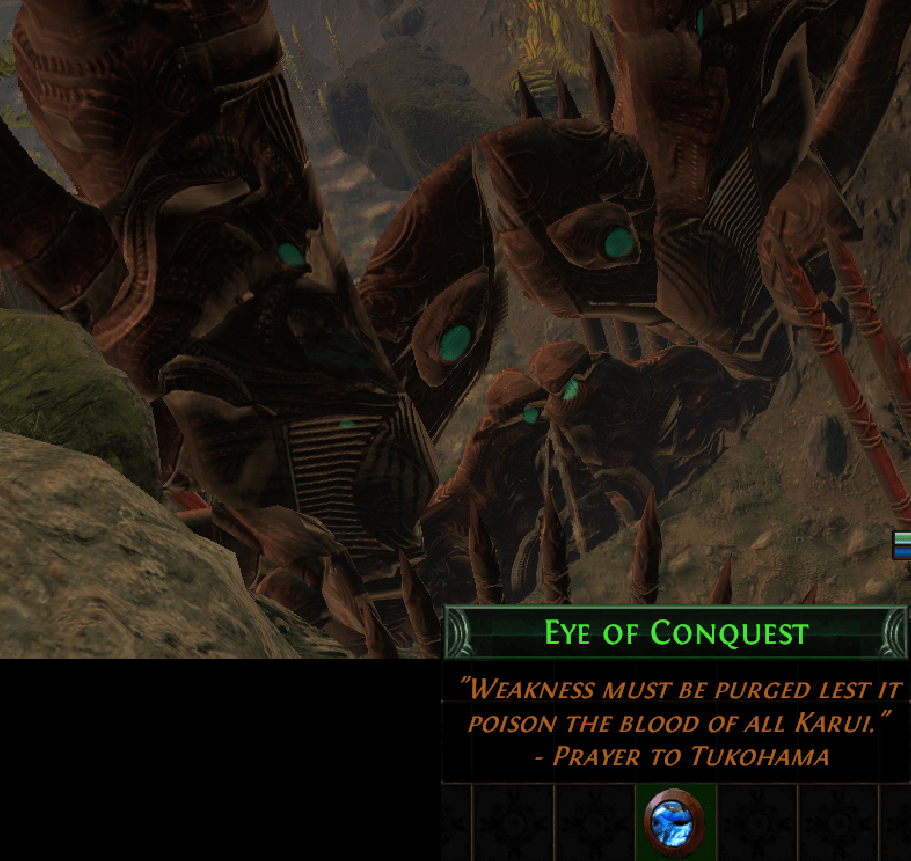
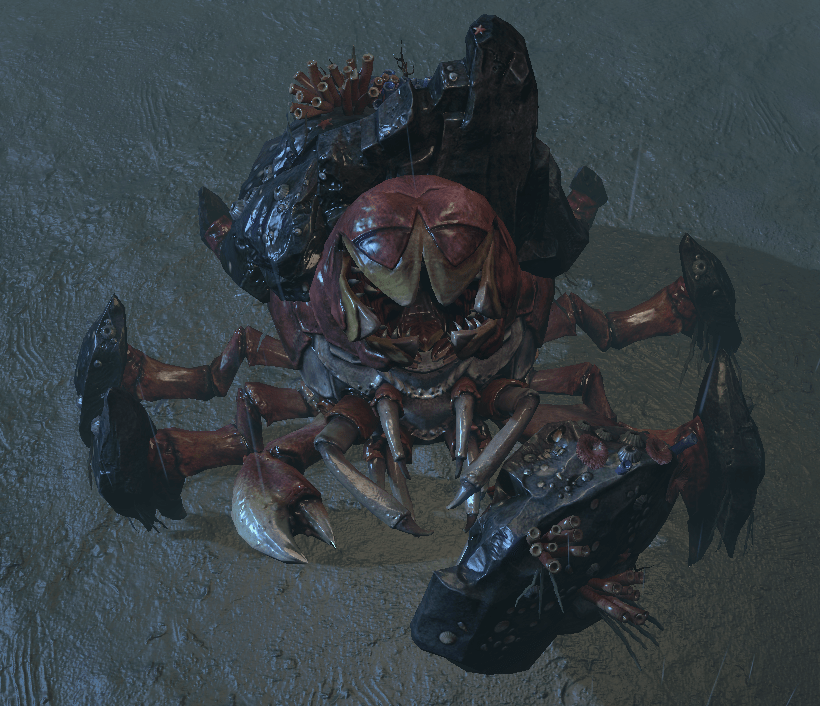
3) Return to the Coast waypoint and then proceed to the Mud Flats. In Mud Flats, we’re looking for a specific unique mob (The Dishonoured Queen) that will drop us the key to the next zone. I suggest hugging upper part of the zone and exploring. Be careful though as this zone has A LOT of elemental damage (Purity of Elements is recommended as an aura!). Once you acquire the Eye of Conquest from the mob, go to the Fortress Gate, open it and proceed to “The Karui Fortress”.
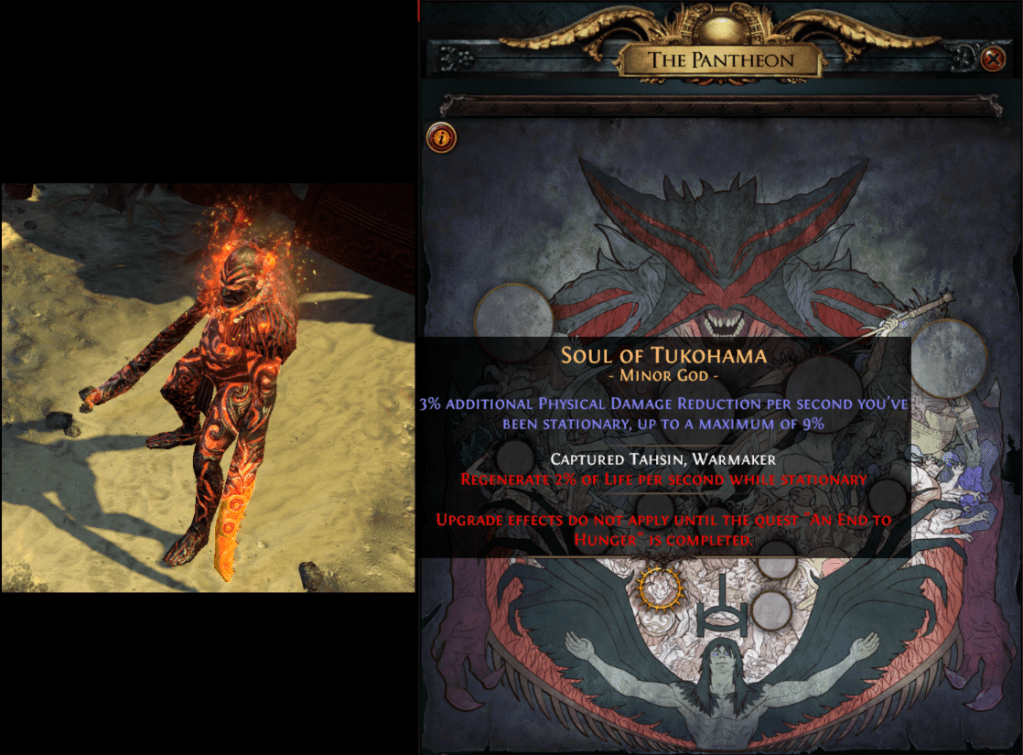
4) In the Karui Fortress, we want to get to the end part of the first area where we have a boss arena (Tukohama’s Keep). In it, we defeat the first big boss of this act, Tukohama and get a special reward. This boss kill unlocks the first minor Pantheon point. During the campaign, we will open all of them. These are “souls” from the bosses we’ve killed, where we can “absorb” them and use a part of their power. Proceed though the gate on the other side and get to the next area “The Ridge”.
5) The Ridge is a walkthrough zone, it’s not quite linear but you can follow one side to the next area “The Lower Prison”.
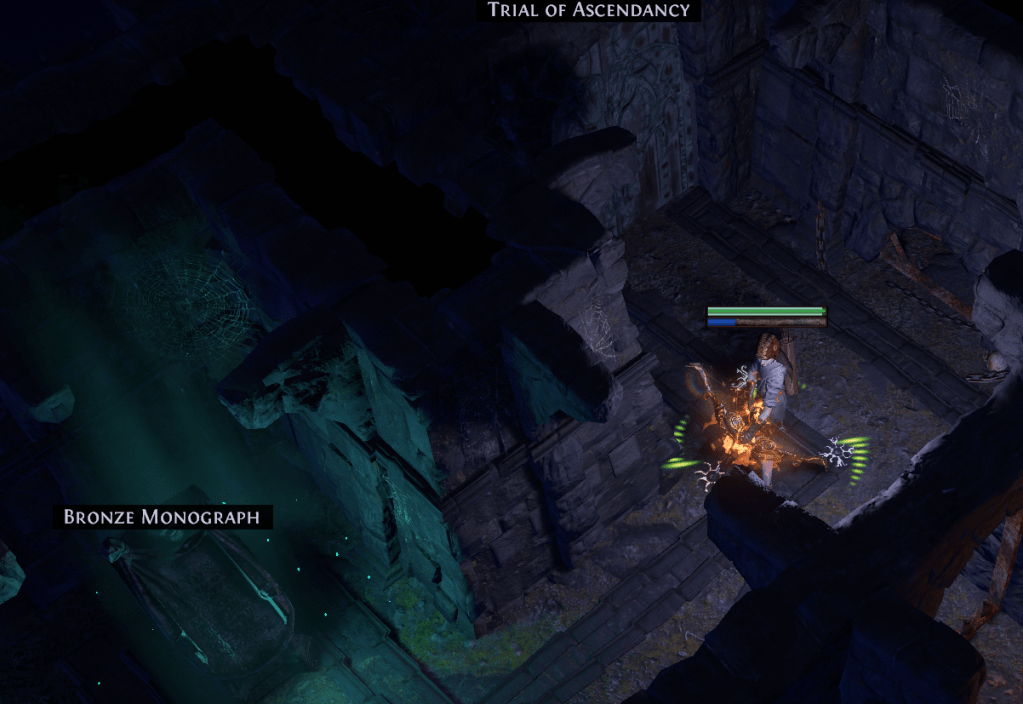
6) The “Lower Prison” area has 2 things to do. It is the first area with Labyrinth trial in second half of the campaign and we need to get to the next zone called “Shavronne’s Tower”. After the waypoint, hug one wall until you find the trial or the next zone. Then, proceed by finding the other one. Once you’re finished, continue to Shavronne’s Tower.
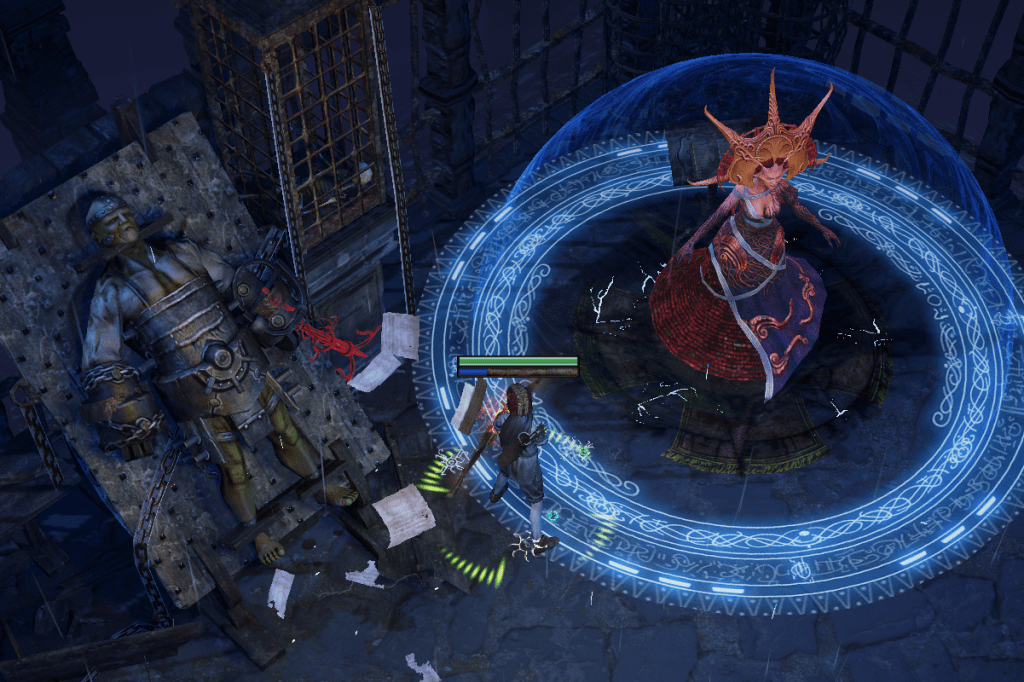
7) In the Shavronne’s Tower, goal is to get all the way to the top, map is linear. At the top we fight Brutus, Shavronne and Shavbrutus. Once you kill them, you move to the door, Warden’s chambers and you proceed to “Prisoner’s Gate”.

8) In Prisoner’s Gate, we have 2 things to do. One is to find Abberath (a pantheon boss) and another is to continue to the next zone.
Following the stone path, we get to the next zone “The Western Forest”. I suggest, before going there to start following one wall until you get to “Valley of the Fire Drinker”. Enter it, defeat Abberath and then return to Prisoner’s Gate, then continue to the next zone.
9) Western Forest is a walkthrough zone, follow the path and you’ll reach “The Riverways”.
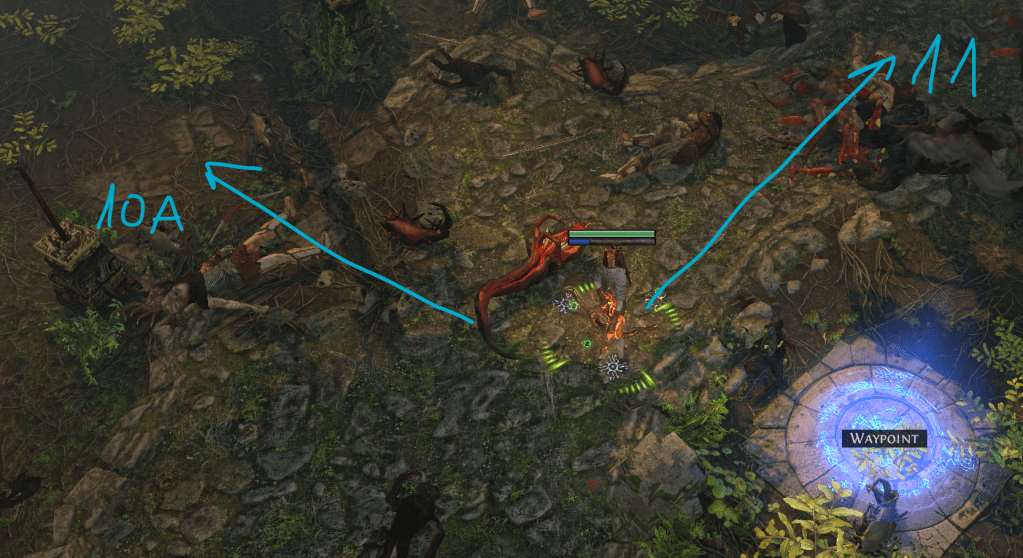
10) In the Riverways, we follow the path until the waypoint where there will be a stone “mini-path” that will lead to the “Wetlands” in which we have another minor Pantheon boss to kill (Ryslatha). Regular road leads to the next area. I usually do Wetlands here first.

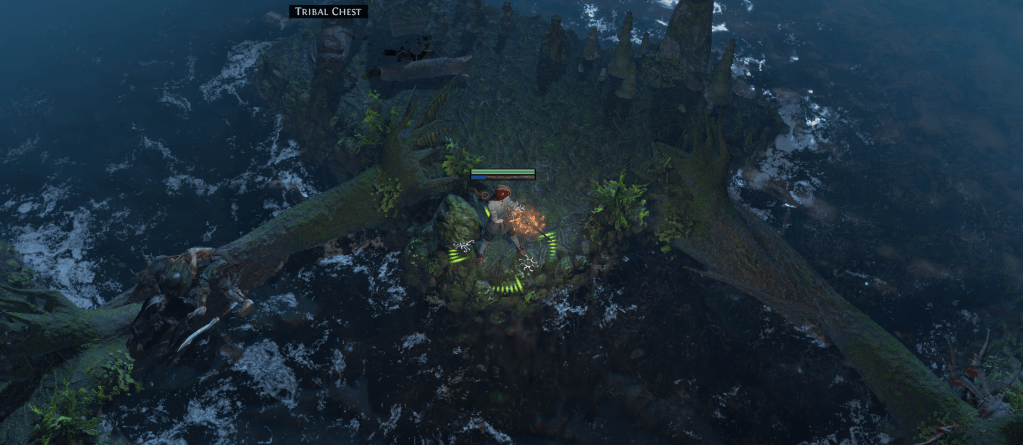
10a) In Wetlands, hug left wall until you reach the door to Ryslatha (The Spawning Ground). Killing her 3 pods spawns her, then killing her, Sin gives us her own Pantheon point. After doing this, return back to the town to pick up rewards.
Bestel gives: Book of Skill (+1 passive)
Tarkleigh gives: Book of Skill (+1 passive), a rare 4 linked helmet (very good imo!) & another book of skill (+1 passive).
Once you’re done in town, teleport back to Riverways, continue along the path and once you hit the dead end, turn East to the next zone (The Southern Forest).
11) Southern Forest is a bit tricky, but following the right side generally leads you to the next zone. When you find a mini “island” with toppled trees that can be walked on, you’re on the right track! Continue by following the right side and you’ll arrive at The Cavern of Anger.

12) Pick up the Black Flag and proceed through the area while going in one direction (not too much can be helped here). You’re finished when you reach “The Beacon”.
13) Beacon is mostly linear map with a little puzzle at the end. Follow the coastal line until you reach a building with stairs. There, you will find an object with a cirle around it. When you stand in the circle, the object moves and your goal is to get it to the end, twice, as there is another one close by. For safety, put a portal before engaging with this puzzle. There are also checkpoints along the way where the “barrel” will not move farther back. Mobs infinitely respawn though, take care!
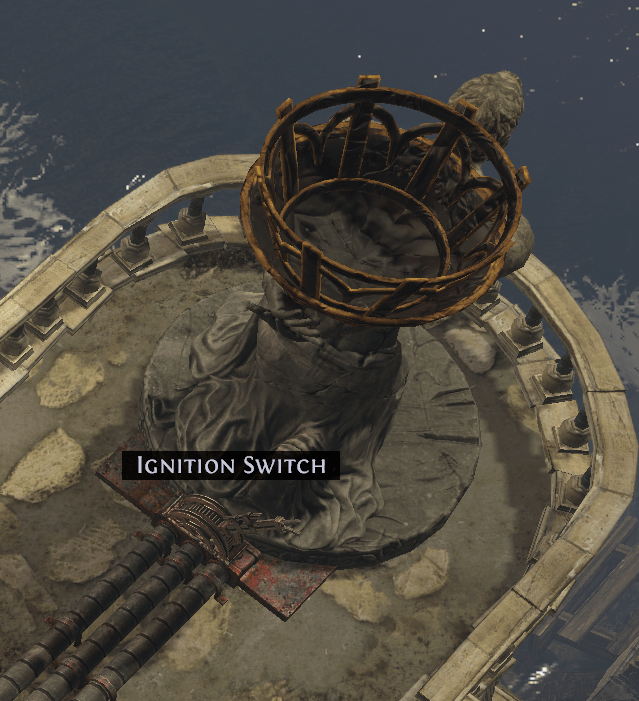
13a) Once you finish the puzzle, click the “Ignition switch”, add the black flag in the fire and move down to the boat. Talk to Waylam Roth to get ported to “The Brine King’s Reef”.
14) The Brine King’s Reef is the last area in act 6, where we defeat the final boss of the act. Follow along one side (wall) until you reach the boss. This area is also very good for EXP. Once you Defeat the Brine King, he is the first one that gives a Major Pantheon Point. Talk to Waylam to get teleported to Act 7’s Hub “The Bridge Encampment”.
