
Written Guide:
1) Once in the Forest Encampment Hub, you can talk with every NPC that has “!” above their heads, just to learn which ones sell gear. Once you’re done with that, proceed north towards “The Old Fields”
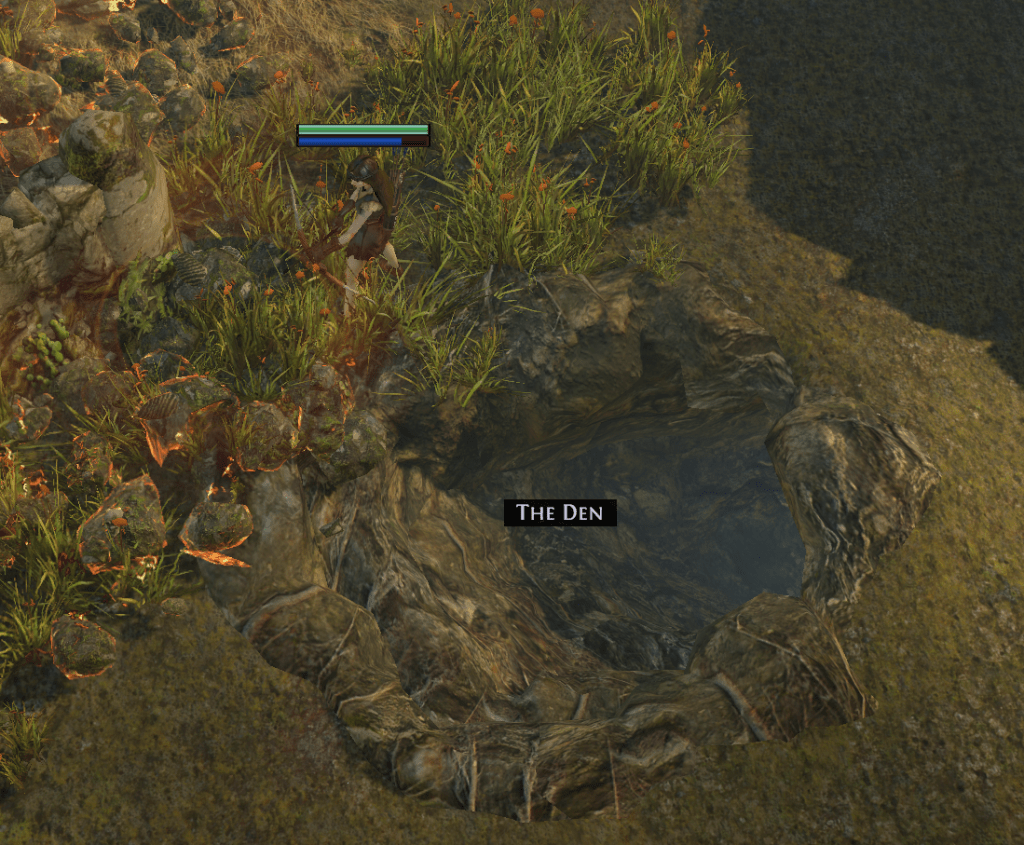
2) In The Old Fields, there are 2 things to do. Following the road goes straight to the new zone “The Crossroads”, but following a side wall (left or right) will lead towards an optional area “The Den”.
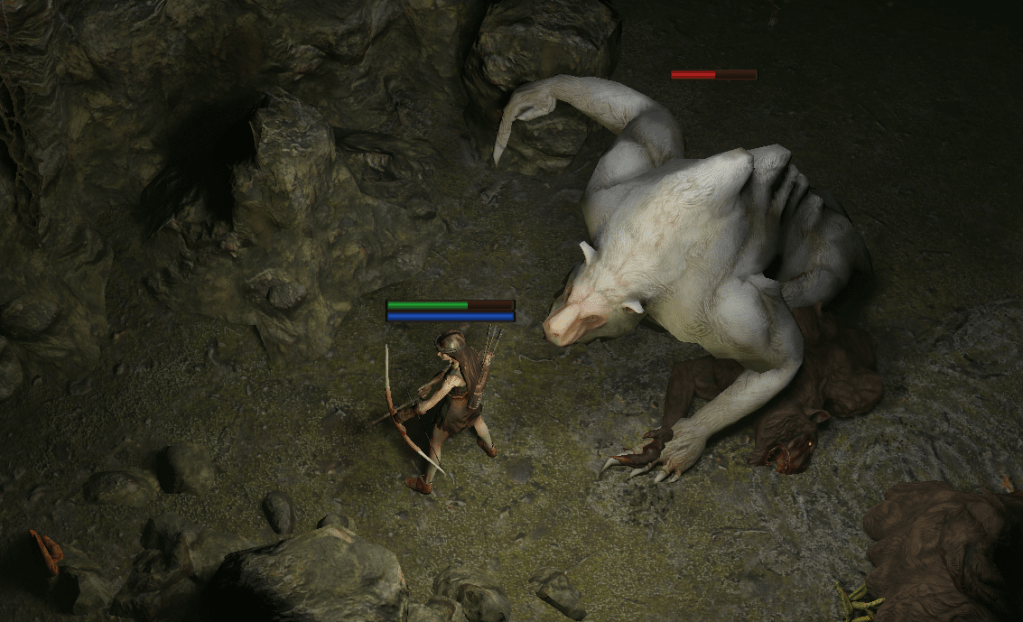
2a) OPTIONAL: If you go in the Den, follow along one way and you will get to “The Great White Beast” unique monster. Killing it and returning to Yeena in town will reward with Flasks & belt slot item. This is completely optional and can be skipped.
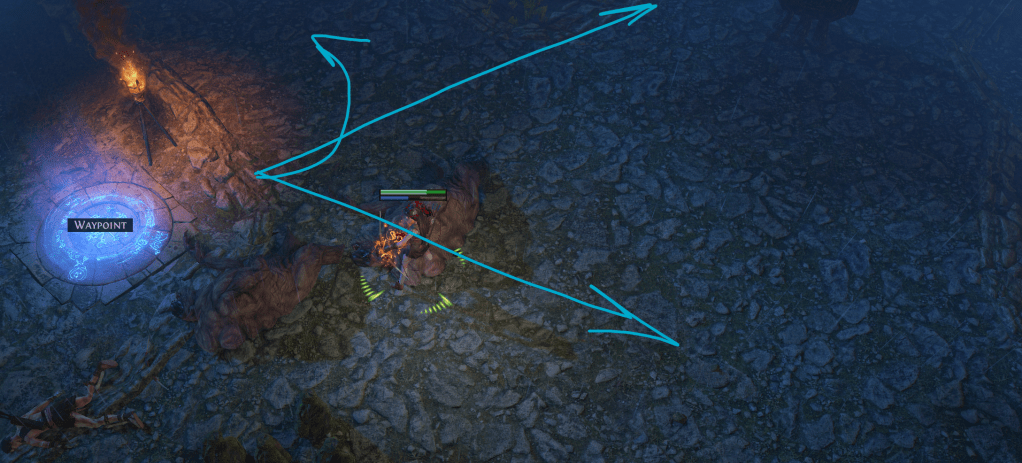
3) Entering the Crossroads, follow the path to the Waypoint. Once there, the roads will be as follows:
North -> The Chamber of Sins Level 1
East -> The Broken Bridge
South -> The Fellshrine Ruins.
I recommend starting with South first.
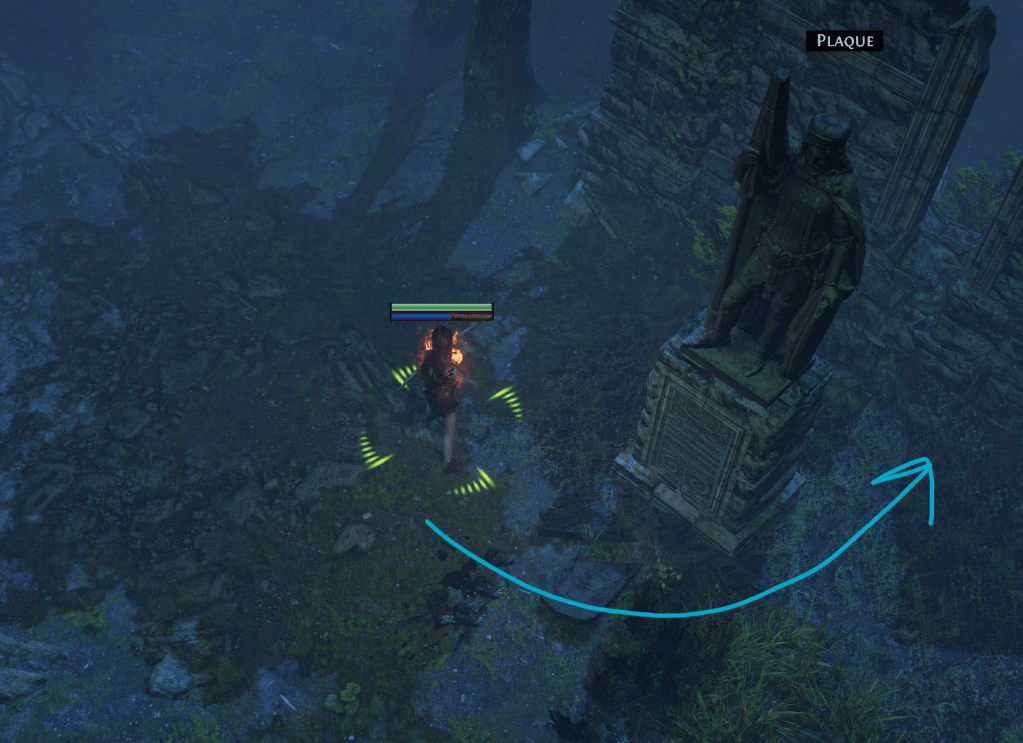
4) Proceeding through Fellshrine ruins is simple, follow the road until the end of it and you will find a Plaque. Enter the ruins behind it and then The Crypt Level 1.
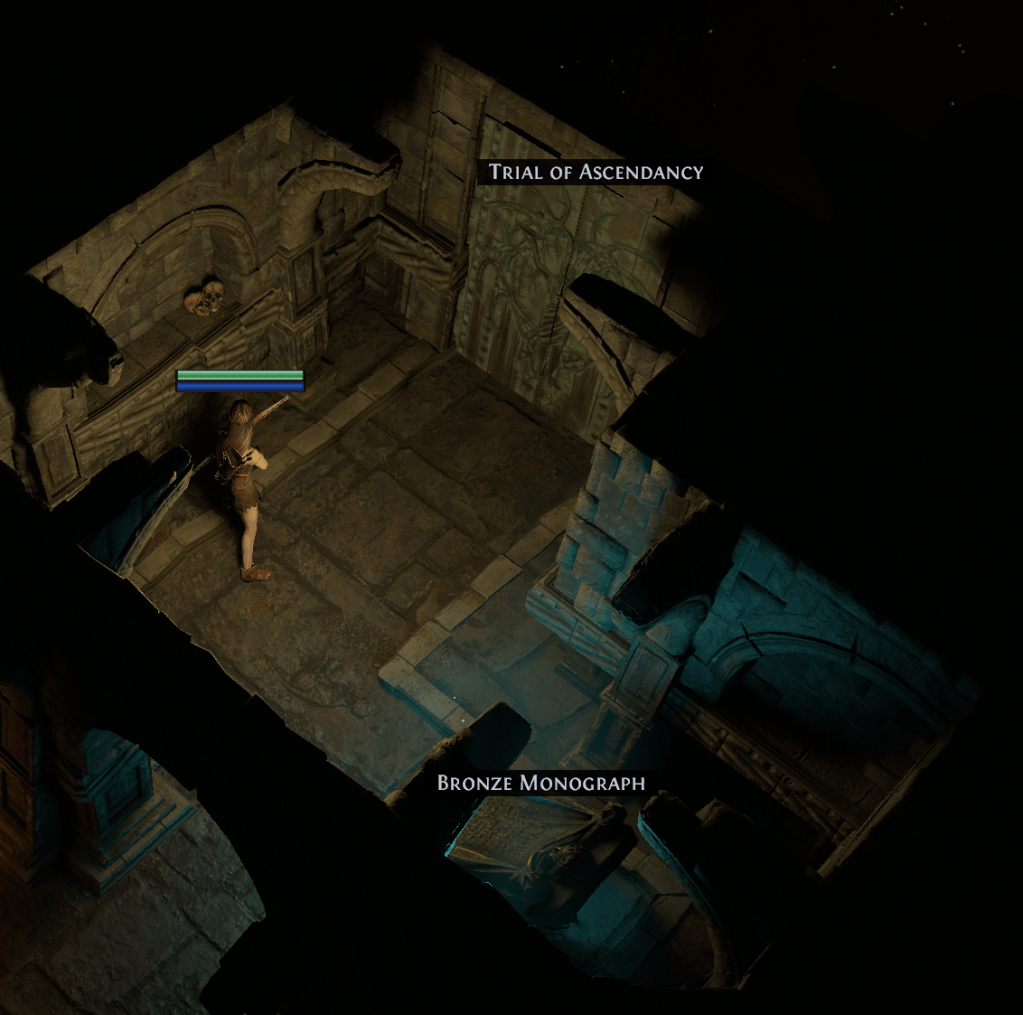
5) The Crypt has 2 levels. We enter at level 1 in search for level 2. Another Labyrinth trial hides in Level 1. Once you find it and complete it, explore the area further until you find the entrance to The Crypt Level 2.
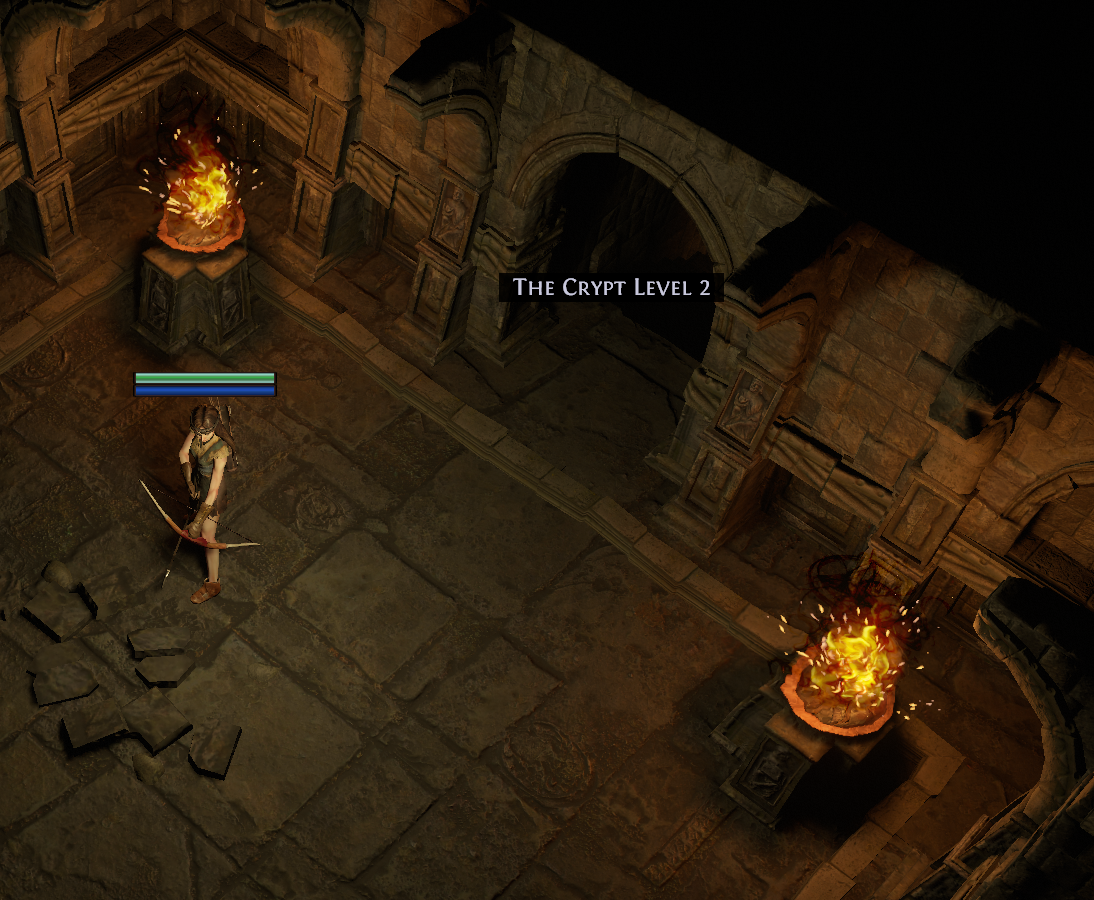

5a) Once you’re in Crypt level 2, the goal is to get to the end of it and either Kill or not the unique monster Archbishop Geofri, then loot the Golden Hand behind him. You can go back to town via Portal Scroll or logout, then talk to Yeena and receive a book of skill (1 passive point and 2 respec points)


6) Go back to crossroads then proceed east to the Broken bridge.
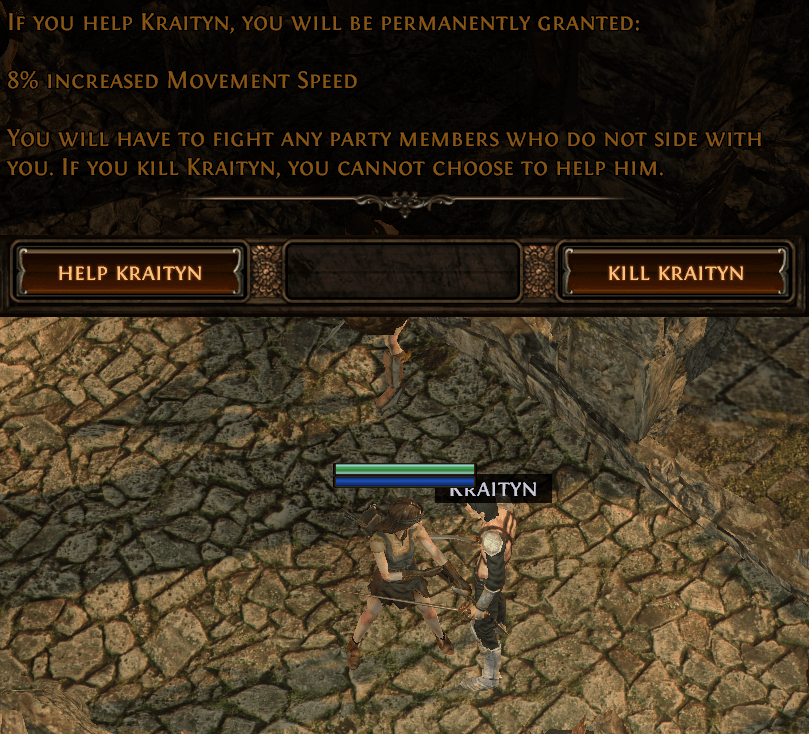
In The Broken Bridge, goal is to get to the bandit. Follow the road until you get to the “spiky” entrance, then deal with the bandit Kraityn accordingly (saving him gives 8% movement speed, killing him gives a part of a pyramid). If you choose to save him, after dealing with other 2 bandits, return to him for the complete pyramid item. If you decide to kill all bandits, return to Eramir in town and he will reward you with an extra passive point and a pyramid instead. Return to town.


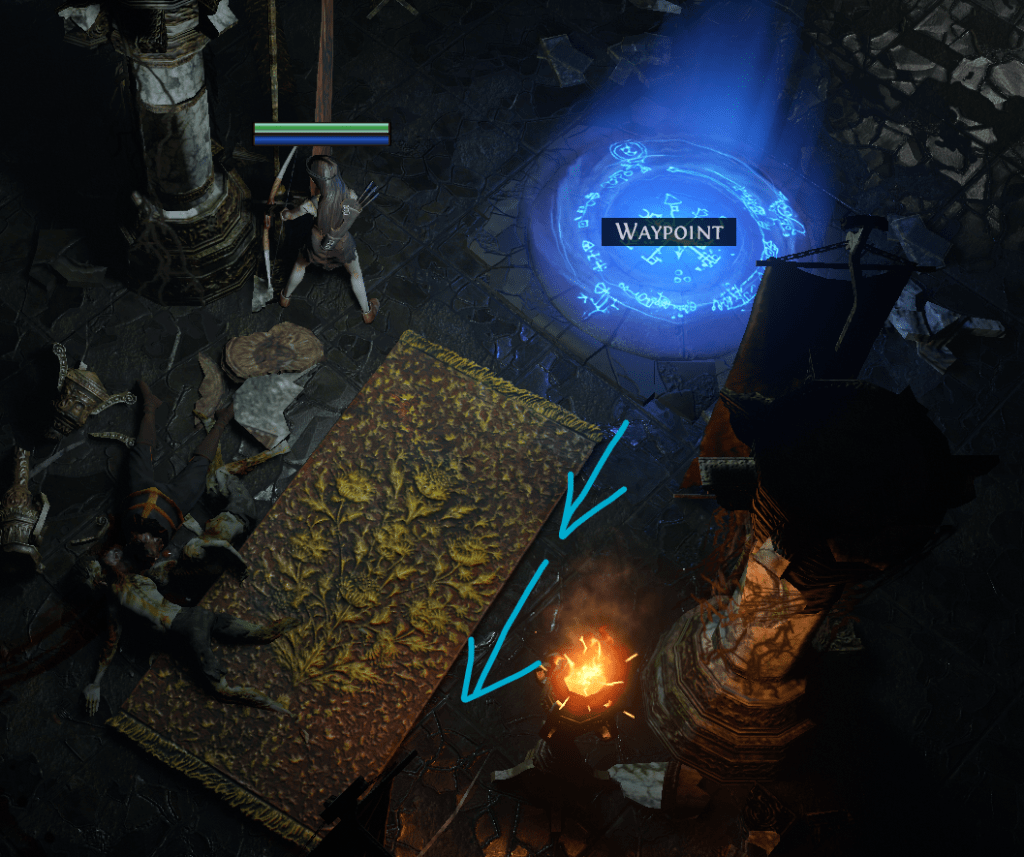
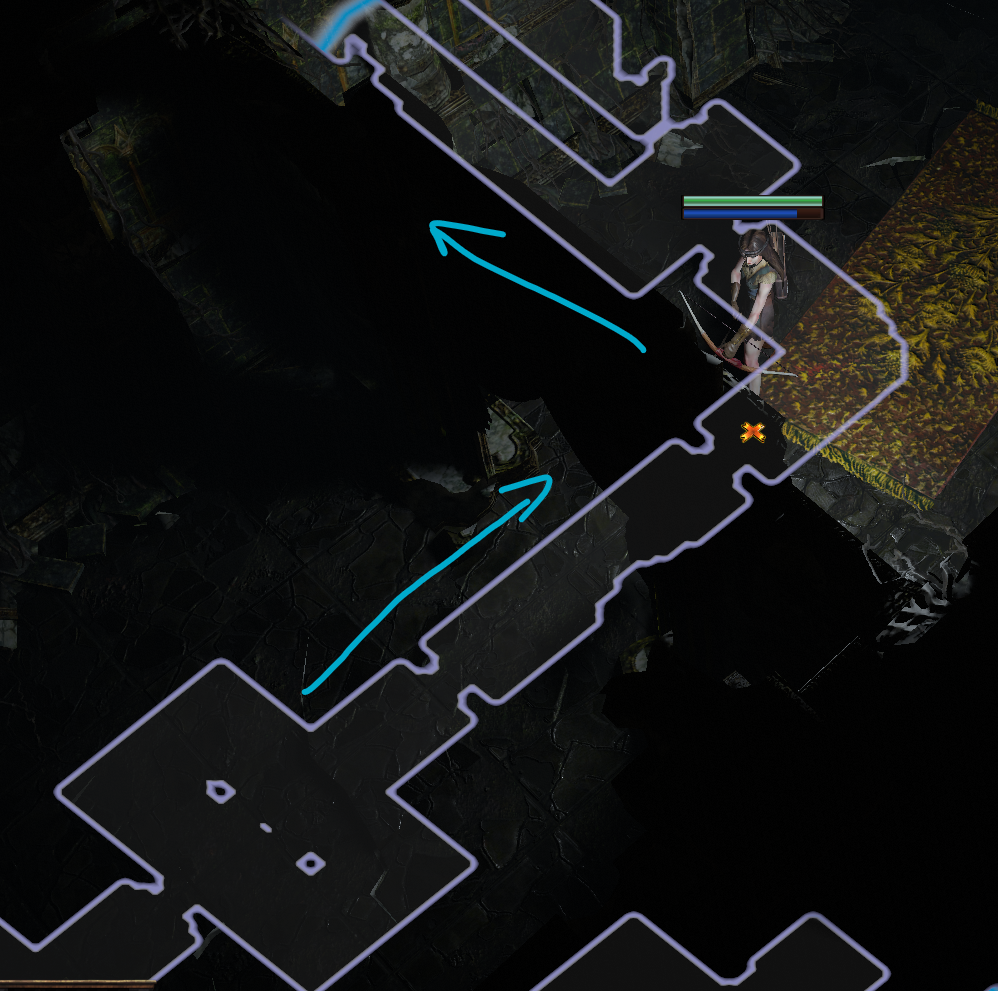
7) Go back to crossroads and then proceed north to The Chamber of Sins Level 1. In here, we’re looking for the path forward with a long wall. Once you get to the waypoint, follow in its direction (there should be a carpet that shows “the way”). Proceed to Chamber of Sins level 2.
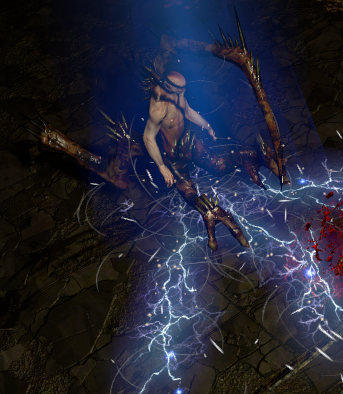
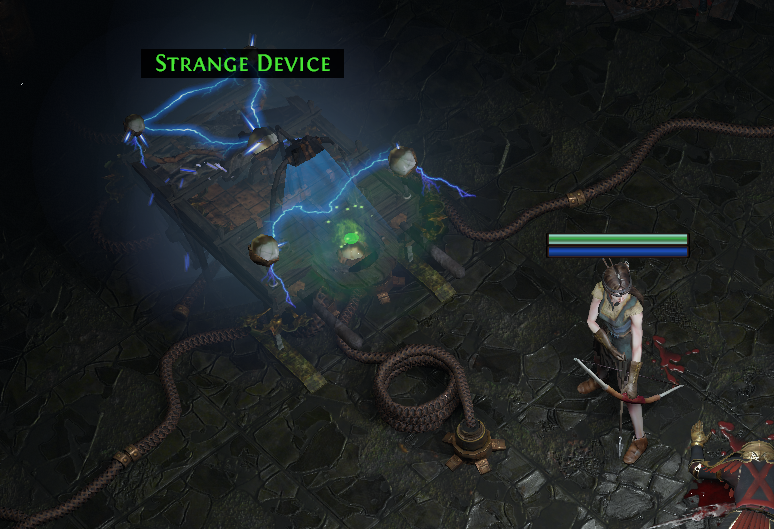
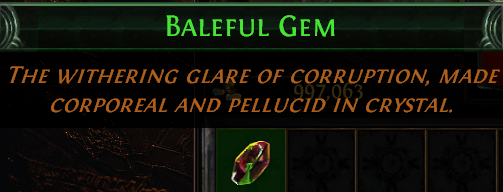
7a) Once there, we have 2 objectives. One is labyrinth trial and another is a very long corridor. At the end of it, we have to defeat the unique monster “Fidelitas”. Once he’s defeated, click on the strange device to loot “Baleful Gem”. You can talk with Helena (the NPC that was hiding in the tree roots) or not, quest is completed once you pick up the Gem. Return to town for your reward from Greust (he gives a Herald Skill gem reward).

8) After you’ve talked to NPC etc, move south in the Hub to enter the next zone “The Riverways”.
In this zone, follow the road until the waypoint.
When you’re at the waypoint, there will be 2 ways to go. Following the path leads towards the continuation of the story, but walking on the “stone” side-path will lead towards “The Wetlands” zone. I recommend doing this one first.
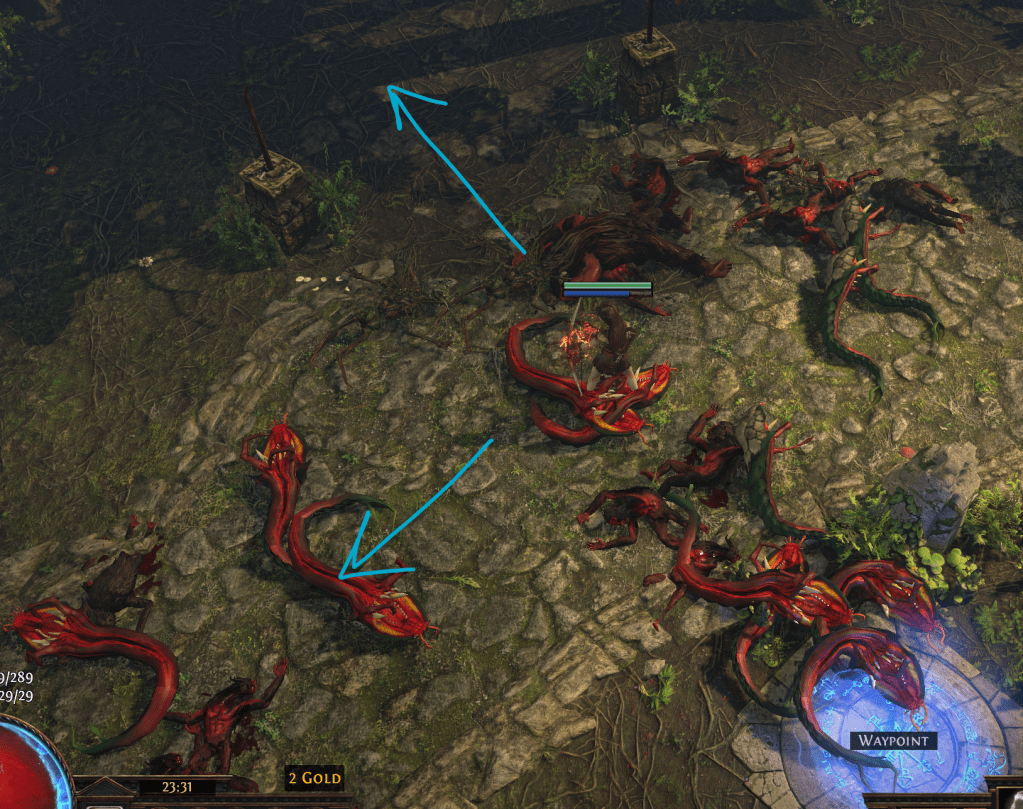
9) The Wetlands has 2 things we need to do. One is a waypoint at the end of the map (usually located far north and a little bit to the west) and the bandit “Oak”.
Follow the left wall until you find either/or.
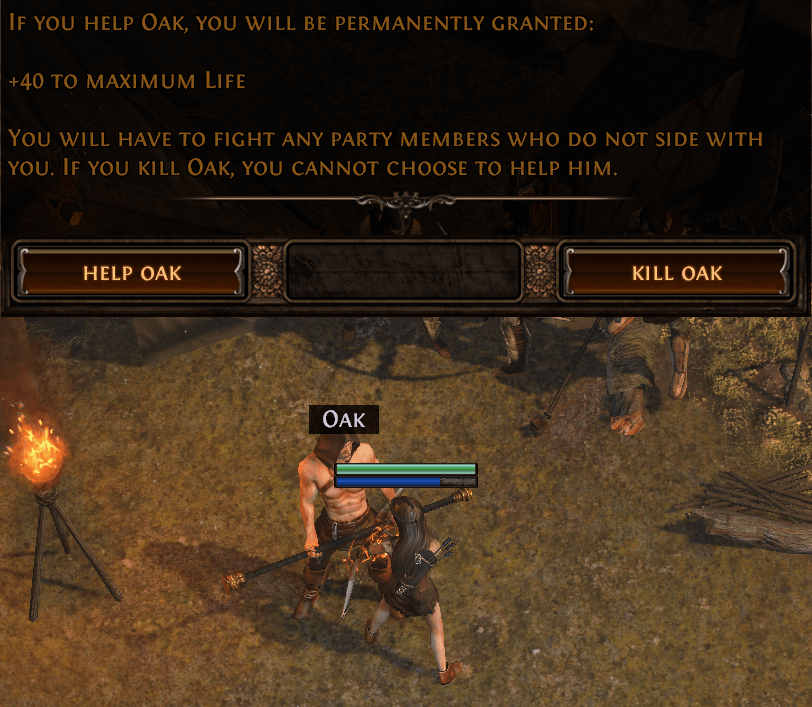
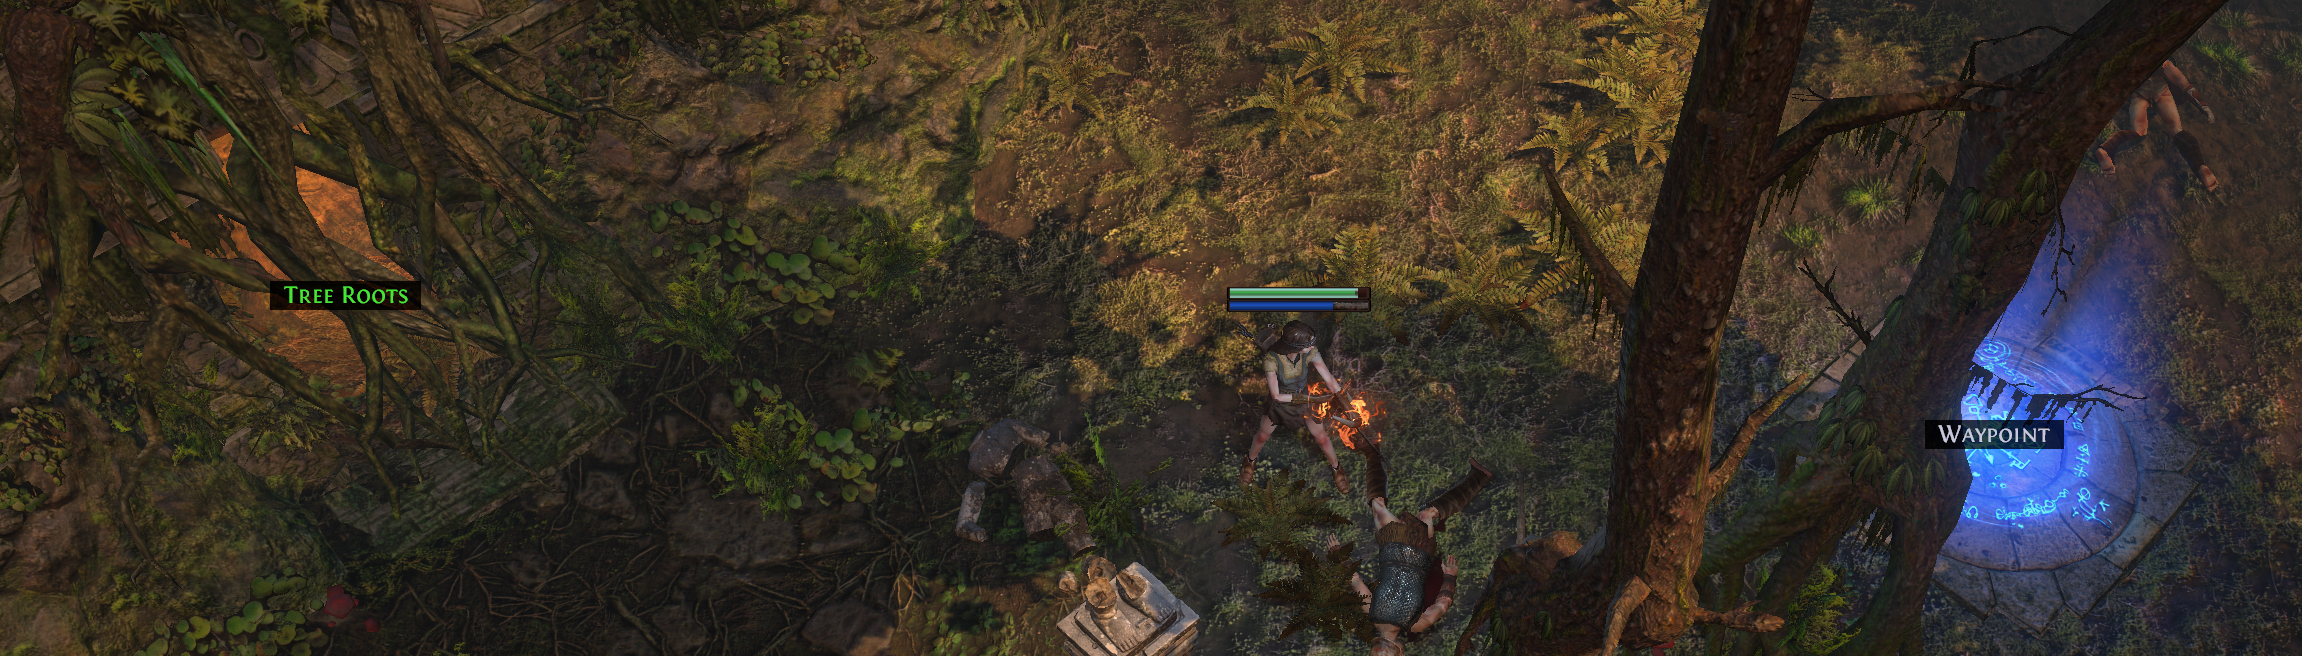
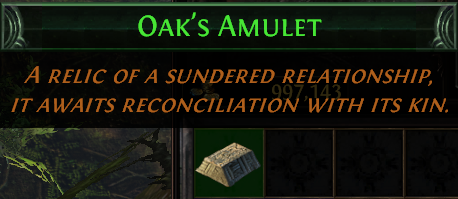
Next to the waypoint, there will be “Tree Roots” which will require another quest item. Find Oak. If helped, he gives +40 to maximum life, but if killed, he gives his own amulet. Return to the waypoint.

10) Go back to the Riverways via Waypoint, then proceed along the path (any form of dash is needed to pass – dash/flame dash/frost blink etc) to The Western Forest.
In western forest there are 3 things to do.
First, you want to go along the path until the waypoint or stone path like in Riverways. You will see a torch on the stone path and if you follow it, you will reach Alira, the last bandit. Helping her gives +15% to all Elemental Resistances which is very strong early and killing her gives her own amulet, which is the last part that Eramir in hub town needs.

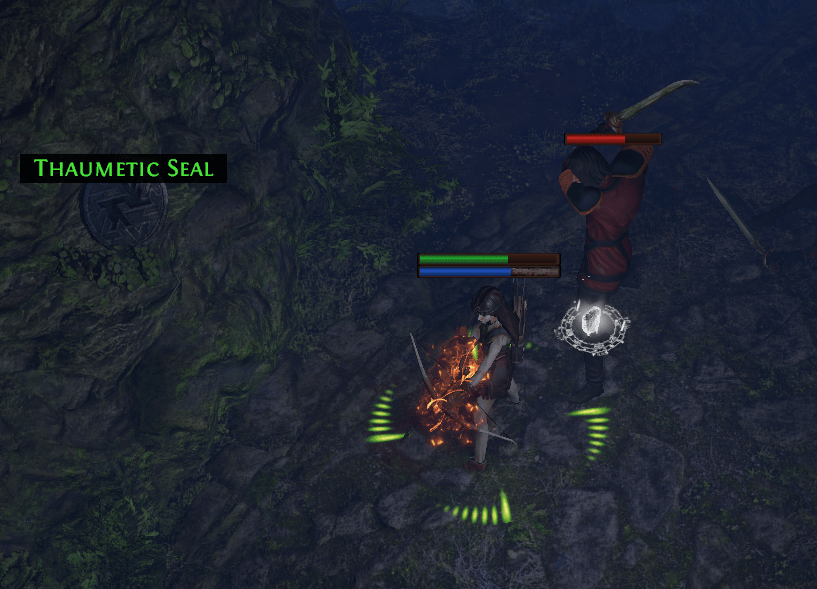
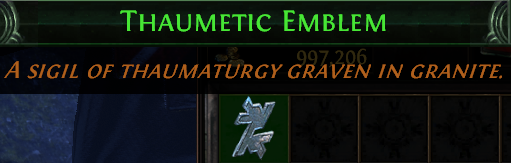
10a) Go back to the main road and continue along it to find “Blackguards”, which when defeated will drop an Emblem that you need to put in the Seal in order to open the path to Act 1’s map “Prisoner’s Gate” (This quest rewards a passive point!)
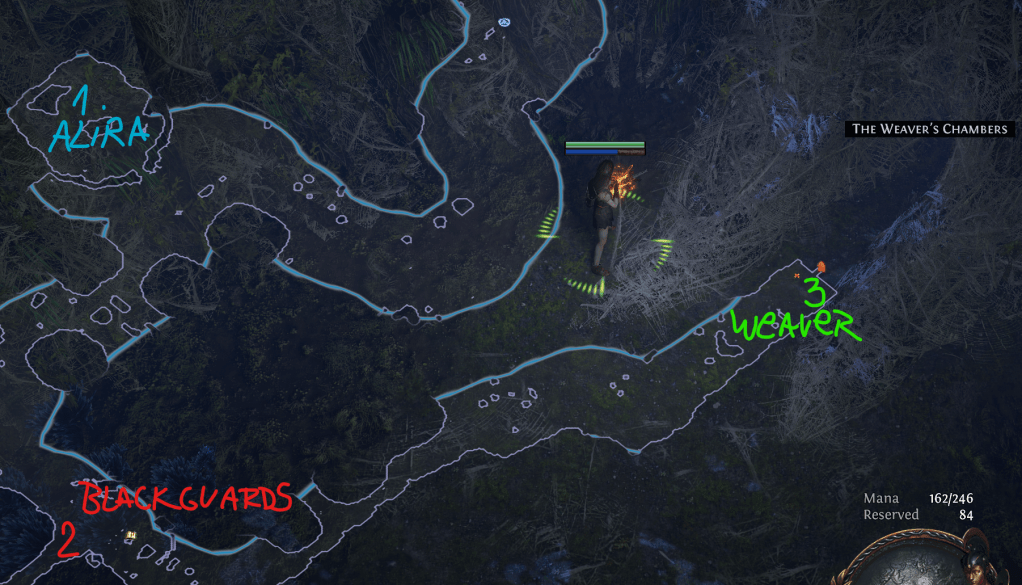
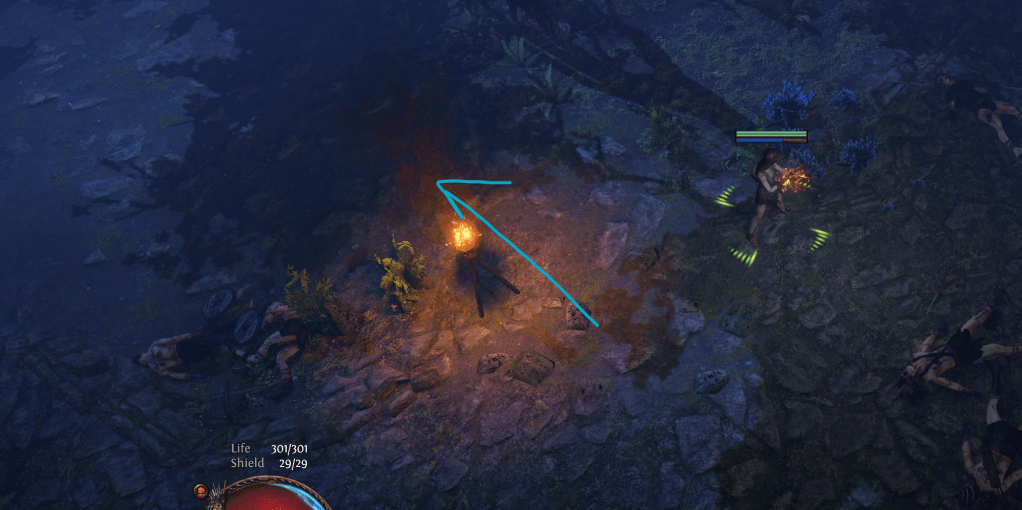
10b) Once you’ve opened the path, continue on THE OPPOSITE side of Alira until you find forest that is completely webbed up. That’s the location of the Weaver’s Chambers (follow the image). Enter Weaver’s Chambers now.
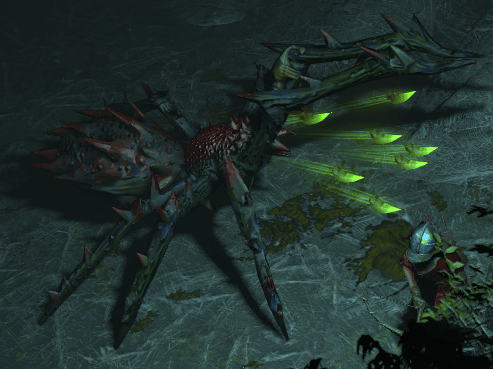
11) In Weaver’s Chambers, goal is to get to the end and Kill “The Weaver” (Located in “The Weaver’s Nest”). After killing her, loot the “Maligaro’s spike” which we will turn in the town. Go back to town and talk to the NPCs to get your rewards:
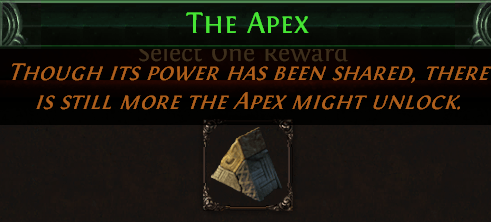
Eramir -> 1 passive point and “The Apex” item (which is also obtained from bandits if you chose to save one!)
Silk -> Support gem
Go back to Act 1 town (Lioneye’s Watch) and talk to Bestel who will give you A book of skill (1 passive point) for clearing the way from Act 2 to 1.
Once you finished talking with NPCs, go back to The Wetlands and click the Tree Roots. Proceed further to “The Vaal Ruins”.

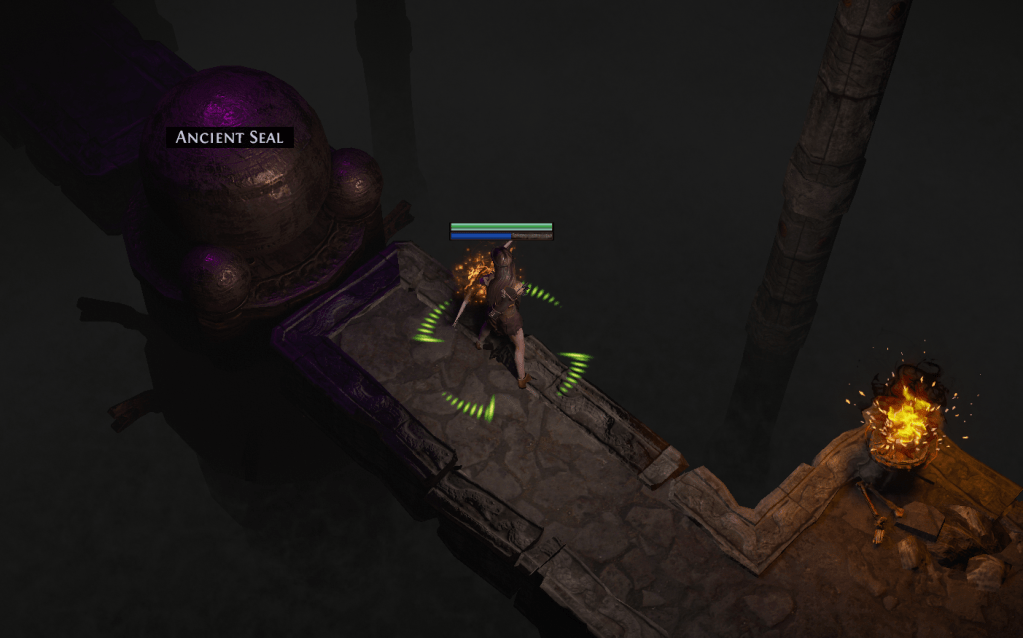
12) From The Vaal Ruins until the end of Act 2, there are no more mandatory things you need to do. Explore and proceed further, until you get to a “Purple stone” where we use the quest item (The Apex). There is an optional corruption shrine which corrupts an item or a gem of your choosing. Choose well or skip it. Once you click the Seal, proceed further to the “Northern Forest”
13) In Northern forest, follow the water until the next zone. There are optional things (and 1 optional zone) which have nothing of value. Next zone is called “The Caverns”.
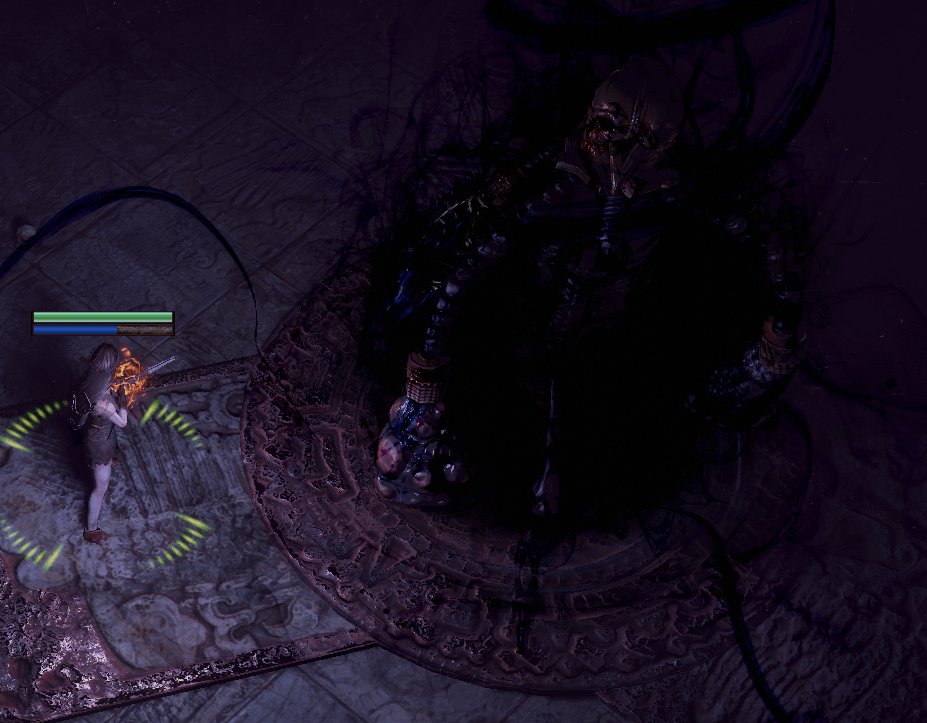
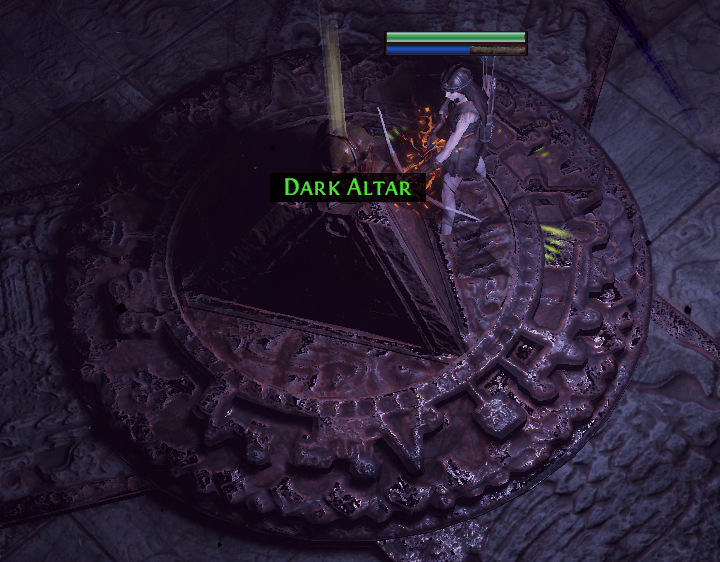
14) The Caverns on the bottom floor after you reach the waypoint, has a hidden crafting recipe (Video here) that you can take while you’re leveling. You can always come back to do it later. Proceed through the floors until you reach “The Ancient Pyramid” and “Pyramid Apex”. Here, we click on Dark Altar and after a while, the End Boss of Act 2 Will appear. In this room there’s also a recipe to take, this is the first of many you will find in campaign or maps). After defeating “Vaal Oversoul”, the “City of Sarn” map opens.

15) In the City of Sarn map, first pick up the crafting recipe, waypoint and then continue along the path until you find a girl that’s tied to a stone slab and surrounded by monsters. Defeating the guards and talking with her opens the Act 3 town “The City of Sarn” which is the next hub.
